Interactive Slates and Clickers
210 likes | 310 Vues
Learn how to effectively use interactive tools like Clickers and Slates in the classroom. This guide provides step-by-step instructions on setup, engaging students, creating assessments, and more. Make learning fun and dynamic with these interactive resources!

Interactive Slates and Clickers
E N D
Presentation Transcript
Expectations • Be active! • Cell phones ON! • Take care of yourself!
When I get a new piece of technology I… Text a CODE to 37607 Take it out of the box and figure it out 198539 Hoard it in my closet with the rest of the 198541 Stuff I’ve received Give it to another teacher 198587 Poll Anywhere
Make it Effective and Engaging Give the kids something fun and they’ll do amazing things with it! Coca-Cola Friendship Machine
Getting Started CPS Training Workbook
Quick Start…. More detailed directions are later on in presentation.
8 Simple Steps • 1 – install software • Cd or einstruction web site • 2 – install CPS receiver before launching software • 3 – Create a new database • Save wherever you’ll remember • 4 – Add New class • k-12 – no - enter required info (first, last,email) • Name class • 5- add students • Click on class then new – student • Either enter name or hit enter until you have number • 6 – engage tab then engage button • Select class • 7 – click verbal • Select format of question you want to ask – A-d • Students answer – dark blue, yellow if change, same answ green • 8. Click end when done. chart appears – select correct answ • Finish and close
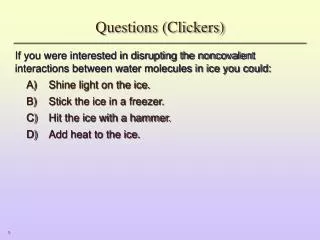
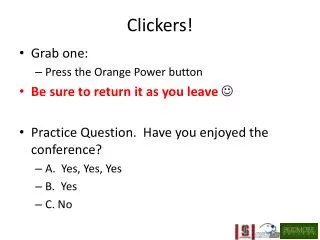
Verbal Mode Do not choose a lesson or class Just hit engage and the tool bar will appear. Click on Verbal Choose answer format Start End Select correct answer Verbal mode can be used with any format: powepoint, internet, videos, worksheets, etc…
Chalkboard Mode Do not choose a lesson or class Just hit engage and the tool bar will appear. Click on Chalkboard Draw or insert a graphic Start End Select correct answer
Install software • Insert CD • Click on Install CPS and follow on screen prompts • Click Finish • Creates a CPS Icon on your desktop • Install Receiver (put in FLASH DRIVE) before launching • Download Instructions
Step 1. Create a New Database Easier if you only have one database and multiple classes To create a new CPS database: Open CPS from the desktop icon. 2. Choose Create a New CPS File. 3. Click OK. The New CPS File dialog box opens. 4. Type a name for the database file in the File name: text box. 5. Click Save.
Step 2: Create New Class Under Prepare Tab Classes and Students New- Class A new class wizard box will Pop up. Click on K-12 Enter info
Step 3: Add Students Under Prepare tab Classes and students New – Student On the right side of the screen You will start adding student info Tab to go to last name Enter to go to next student
Step 4: Lessons and Assessments • Under Prepare Tab • Lessons and Assessments • New • Fast Grade Session • Lesson • Question • Import- Browse • (Search for CPS lessons in google)
Step 5: Engage Under Engage Tab Lessons and Assessments 1)You will see the lessons you have created and imported Check which lesson you want and click Engage 2) Verbal ex. Landform Pics 3) Chalkboard Draw, Import Pic ex. Algebra Bball Court – Area Perimeter
Preparing a Team Activity Prepare Tab – Team Activity New Challenge Board Box Pops up Under Lessons Tab choose which lesson Has to be previously imported Drag each question to a block Exit out Click on Engage Tab – Team Activities Click on activity then Engage Button Click Start
Creating a Lesson with your own questions Under Prepare Tab – Lessons and Assessments New – Lesson Highlight that lesson and click on new – question Type your questions and answers Put a checkmark next to correct answer and click the button that is save and next To engage Lesson you just created (or one you have imported from web site) Click on Engage tab Lessons and Assessments Put a checkmark by the lesson then click engage button Once it begins you hit next question to start
How to import lessons you find on the internet Google search for cps lessons Here is an example site http://sarahlowey.pbworks.com/w/page/14445588/K12-CPS-Lessons After you right click and save each file to a specific location that you’ll remember open up CPS Prepare – Lessons and Assessments – Import – browse and find it.