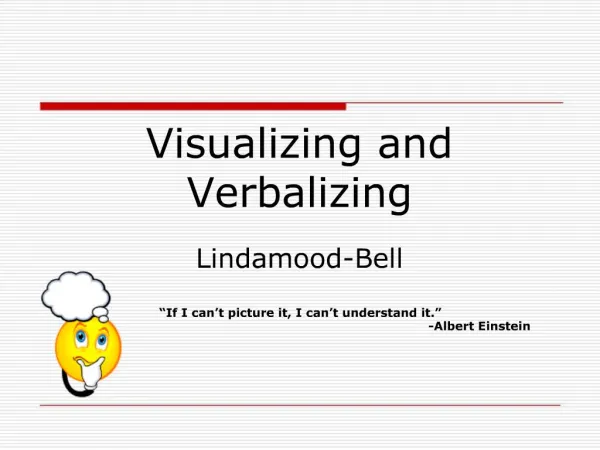
Intro to Visualizing and Verbalizing
Intro to Visualizing and Verbalizing. Summer 2012. Do Now. What do good readers do?. Mindset. Objectives. Understanding and implementing specific strategies to explicitly develop the imagery-language connection is a crucial piece to meeting our learners needs.

Intro to Visualizing and Verbalizing
E N D
Presentation Transcript
Intro to Visualizing and Verbalizing Summer 2012
Do Now What do good readers do?
Mindset Objectives Understanding and implementing specific strategies to explicitly develop the imagery-language connection is a crucial piece to meeting our learners needs. • Understand the theory and background of the Visualizing and Verbalizing program. • Develop a foundation for beginning to utilize/try out V/V in the classroom, across content areas. • Practice/role play steps
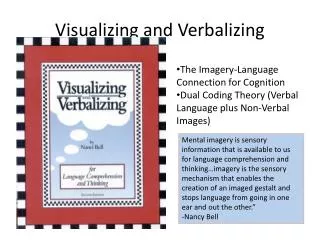
Theory Dual Coding Theory (Paivio) Verbal Code Specialized for Language Symbol Imagery Static Non-Verbal Code Specialized for knowledge of the world in the form of mental images Concept Imagery Dynamic
The foundation of comprehension lies in developing the files for these 2 memory processors. “Any progress in comprehension will not occur as a result of worksheets that address various components of comprehension. Rather, it is the process of comprehension that we must address.” (Tattum, pg. 210).
Quick Discussion Share with a partner the difference between Verbal coding and Nonverbal coding. What comprehension strategies have you found useful with students?
V/V - 10 Steps • The Climate • Picture to Picture • Word Imaging • Single Sentence Imaging • Sentence by Sentence Imaging • Sentence by Sentence Imagining with Higher Order Thinking • Multiple Sentence Imaging with Higher Order Thinking • Whole Paragraph Imagining with Higher Order Thinking • Paragraph by Paragraph Imaging with Higher Order Thinking • Page Imaging with Higher Order Thinking
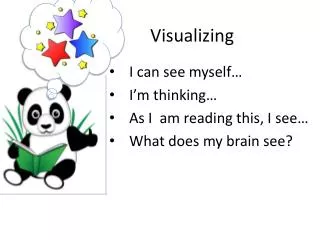
Step 1: The Climate Goal: Briefly explain to student what and why. • Teacher draws a head with a thought bubble, and then draws the house in the thought bubble as she explains. • “We will picture words in our minds.” • “Words turn into pictures and pictures turn into words.” • “This will help us remember what we read and hear.”
Practice with a Partner Choose one person to be teacher, other(s) to be students. Switch roles.
Step 2: Picture to Picture Goal: To develop the student’s ability to verbalize (not visualize yet) from a given picture, and to increase the length and complexity of the student’s expressive language. The teacher doesn’t look at the picture as the student describes it; the verbalization has a goal of creating the picture in the teacher’s mind.
Picture Description -(Group) • Teacher shows picture to all students, but doesn’t look at it his/herself. • Choose students to describe picture. (to keep all students engaged, have them do a thumbs-up/thumbs-down after each description). • Have students take turns checking through each structure word, or pass the structure words out. • Teacher gives summary “Your words made me picture…” • Look at picture together and compare the verbalization to the given picture.
Imagery Practice After Picture Description • Teacher and student look again at the the picture they have just described. • Teacher takes the picture away. • Student describes her imagery, saying “I pictured…” • Teacher questions to direct her imagery: “What did you picture for…?” • When student has completed describing her imagery, they look at the picture again.
Structure Words • what • size • color • number • shape • where 7. movement 8. mood • background • perspective • when • sound
Practice with a Partner Choose one person to be teacher, other(s) to be students. Switch roles.
What pictures that you might utilize in your classroom could be used for Picture to Picture.
Language to Drive the Sensory Bus V/V instruction uses language to directly and explicitly stimulate the sensory input of imagery. Driving the Sensory Bus is using language to bring imagery to consciousness for your student.
“What are you picturing for…?” “What do you picture will happen if…?” “What do you picture for the word recital?” “What are you thinking about…?” “What do you think will happen if…?” “What is the meaning of the word recital?” VS.
Step 3: Word Imaging Goal: The goal is to develop the student’s ability to visualize and verbalize the smallest unit of language – a word. Laying the foundation for more language: a phrase, a sentence, or a paragraph. The student creates a mental representation for a word (visualizes) and then describes her imagery to the teacher (verbalizes).
Known Noun Imaging • Teacher says a known noun and asks the student to picture it. • Student verbalizes her imagery. • Teacher questions using the phrase, “What are you picturing for…” • Student checks through the structure words for details. • Teacher summarizes, “Your words made me picture…” (For group instruction: Set the task as: All students will help create one composite image, not separate images.)
Think, Pair, Share Think about, how might this look in your classroom? What possible challenges do you forsee?
Close Write down 2 things/ideas you’re walking away with