Old Photo Restoration
180 likes | 493 Vues
Old Photo Restoration. No single way is “correct” but this is one accepted process. Basic Workflow. Scan at high enough resolution (.TIFF is preferable to .JPG file format) Copy background layer and work with the copy (standard practice)

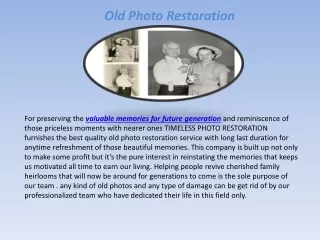
Old Photo Restoration
E N D
Presentation Transcript
Old Photo Restoration No single way is “correct” but this is one accepted process
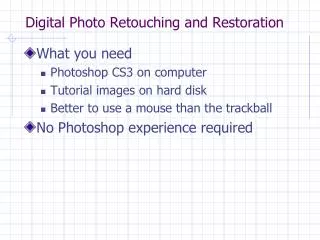
Basic Workflow • Scan at high enough resolution (.TIFF is preferable to .JPG file format) • Copy background layer and work with the copy (standard practice) • Fix color/contrast/brightness (recover faded details) • Crop away anything you don’t want/need • Repair major damage (rips, folds, blotches) • Fix dust & scratches • Make final adjustments (sepia toning, etc.)
A Note about Layers • Layers in Photoshop are like stacked sheets of acetate. • You can see through transparent areas. • You can move layers independently, like sliding a sheet of paper over another sheet. • You can change the opacity of the layer to make it partially transparent. • In a photo retouching context, we use layers for non-destructive editing.Adjustment layers hold color or tonal adjustments that affect the layers below it. Rather than edit image pixels directly, you can edit an adjustment layer and leave the underlying pixels unchanged. This allows you to tweak or remove the effect later if you want.
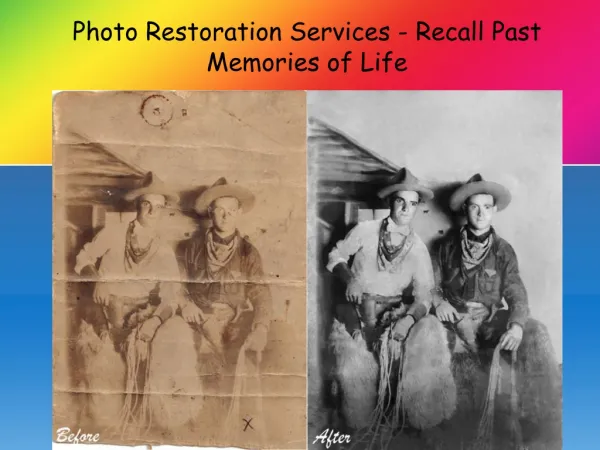
Recover faded details • Copy background layer and work with that • If desired result is b/w, convert to b/w (removes color cast/blotches, can add sepia later if desired) • Or keep color and use levels for RGB separately to increase contrast & remove color cast • Brighten/darken (without blowing out highlights or shadows) using sliders & increase contrast if needed
Repair major damage: rips/folds • If minor or near edges, use healing brush or spot healing tool - or crop it away! • Major damage requires major effort • May need to copy/paste, flip, change contrast/opacity, dodge/burn, patch, clone, resize, etc. • Every instance may require different tools and techniques
Fix dust & scratches • Global problems: blur everything and use a layer mask and paint back needed detail • Or use “dust & scratches” filter • Few/local problems: use spot healing brush
Tools • Spot Healing Brush tool • Healing Brush tool • Patch tool • Clone Stamp tool • Dodge/Burn tools • Content-aware fill (under Edit>Fill menu in CS5+) • Dust & Scratches (under Filter>Noise menu) • Levels (under Image>Adjustments menu)