Photo Restoration
Photo Restoration. Using Adobe Photoshop By Carissa Hubrechsen Year 9 Photography. Spotting.

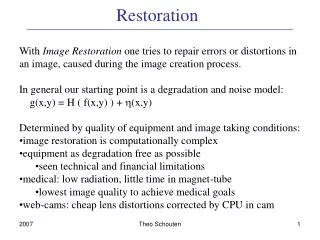
Photo Restoration
E N D
Presentation Transcript
Photo Restoration Using Adobe Photoshop By Carissa Hubrechsen Year 9 Photography
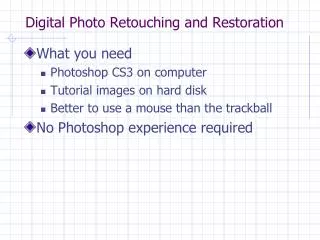
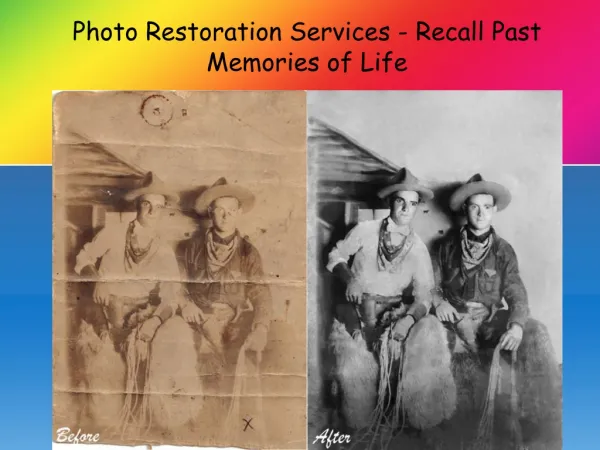
Spotting Not long ago, professional photo labs employed artists to paint out dust spots that were unavoidable in the printing process. Spotting inks and brain-cell killing film cleaners were a familiar site around schools and college darkrooms. Using the Cloning tool and the Healing brush in Photoshop put an end to all of that. Check out these links for examples: http://www.restoration-photo.us
Once in Adobe Photoshop, open the file ‘Old Image’ from My Computer: Shared Resources/Subject Resources/Photography. Then carry out all of the techniques displayed in this presentation. Old Image
From the Photoshop tool bar (pictured), choose the tool required. The Healing brush will help match pixel tonal quality with surrounding pixels. The Clone tool will match exactly the pixels chosen. Place the cursor on the spot to pick up the tone to be cloned. Hold down the Alt key and click the mouse button at the same time once. Release the Alt key, place the cursor over the spot to be ‘fixed’ and click mouse. The tone ‘collected’ will be cloned/healed over the spot. Continue until you have successfully corrected as much of the spots and scratches as possible.
Dodging and Burning You may have tried this in the darkroom while getting the correct light exposure for your print. The symbols for the dodge and burn tools in Photoshop show a direct link with this traditional darkroom technique. The dodge tool represents a piece of wire with a cardboard shape attached to literally dodge out light exposure. The burn tool shows a hand, shaped to catch some of the light and allow some extra light exposure to burn in the print where needed.
Vignette Photoshop can also create those traditional feathered borders in old photographs like the one pictured. To achieve this select the ellipse tool and then change the ‘feather’ to 20 px (on select menu). Draw a circle around the man’s head and shoulders. Then go to Select on the main menu bar at the top of the window and go to Inverse. Press the Delete button. You might need to do this a few times to get it the way you want it. Then crop excess white by drawing a square (without feathering) around area you wish to crop to, then go to Image – Crop.
Toning We did traditional print blue and sepia toning recently. You guessed it, Photoshop can do this as well! Go to Image – Mode – and change to RGB Colour. Go to Image – Adjustments – Hues/Saturation. Ensure the Colorize box is ticked. Apply the following settings: Lightness 0, Saturation 23, and whatever tone you like.
Hand Colouring Hand colouring photographs traditionally occurred by using a set of oil paints, cotton balls, or diluted inks and paint brushes. Photoshop can achieve the same effects by using the paint brush tool. Choose the paint brush tool from the tool bar and change it to a feathered type brush with a small diameter. You will need to zoom right into the photo using the magnifying glass also from the tool bar.
Click on the foreground colour and choose the colours you require, changing the opacity to about 10%. Then colour in where you want. That simple.
Homework Find some old photos from home and bring them in to scan so that you can try all of these techniques.