Microscopes
Microscopes. “micro” means small ! “scope” means watch/look !. Fun Fact! Microscopes were first developed as entertainment for the rich!. Microscopy. What’s magnified?. Apple Orange Fingertip Cardboard Gum Shirt. Apple!. What’s magnified?. Apple Orange Fingertip Cardboard Gum

Microscopes
E N D
Presentation Transcript
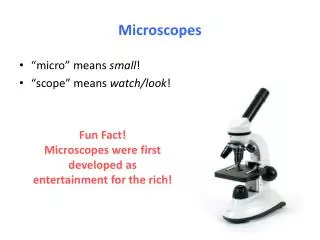
Microscopes • “micro” means small! • “scope” means watch/look! Fun Fact! Microscopes were first developed as entertainment for the rich!
What’s magnified? • Apple • Orange • Fingertip • Cardboard • Gum • Shirt Apple!
What’s magnified? • Apple • Orange • Fingertip • Cardboard • Gum • Shirt Shirt!
What’s magnified? • Apple • Orange • Fingertip • Cardboard • Gum • Shirt Gum!
What’s magnified? • Apple • Orange • Fingertip • Cardboard • Gum • Shirt Fingertip!
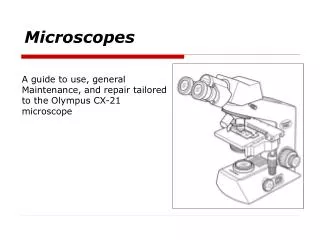
Light Microscopes • Focuses visible light rays • Can be used on live or dead specimens • Dyes & fluorescent markers help for viewing • Magnify up to 1000X on the ones we have! • Compound Light Microscopes
Light Micrographs Plant Human Chromosomes
The Compound Light Microscope The word compound means to increase! A compound microscope has 2 lenses to increase magnification!
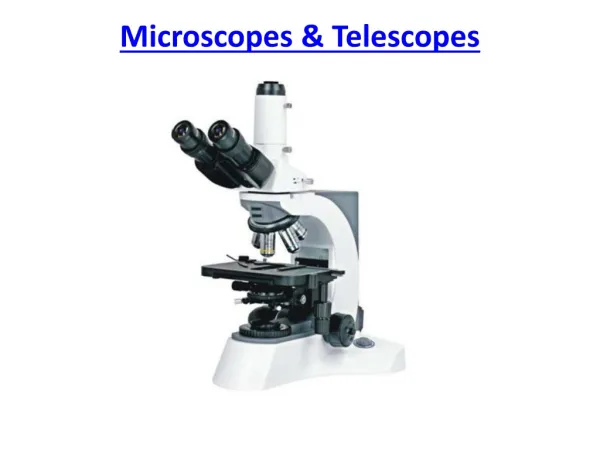
Parts of the Microscope • Ocular Lens: eyepiece (10x magnification), first lens • Arm: connects base & body tube • Must hold arm while carrying microscope! • Course Adjustment Knob: roughly focuses object • Used to find specimen
Parts of the Microscope 4. Fine Adjustment Knob: small knob, finely focuses specimen • Use after object has been found! 5. Power Cord: must be wrapped around arm after use 6. Nosepiece: holds 3 objective lenses
Parts of the Microscope 7. Objective Lens: second lens • Scanning Lens (4x) • Low Power (10x) • High Power (40x) • Oil Immersion (100x)
Parts of the Microscope 8. Stage Clips: holds slide in place 9. Stage: flat plate where slides are held 10. Diaphragm: regulates the amount of light exposed to the specimen
Parts of the Microscope 11. Condenser Lens: focuses light on specimen 12. Power Switch: turns light on & off 13. Base: support of the microscope
Field of View • Total area visible through the ocular lens The higher the magnification, the smaller the field of view!
Total Magnification Total Magnification = ocular lens x objective lens If the 40x objective is in place… TM = 400x, because (10 x 40 = 400)
Focusing the Microscope • Locate the slide specimen at scanning power. • Then move the area to be viewed to the center of the field of view. • Make sure the slide is in perfect focus at scanning power before moving up to low power. • Turn your objective without moving the slide or stage. • You will slightly adjust the image at the next objective. • At high power use only the fine focus knob and do not turn it more than 1/2 turn.
Important! Microscope Rules • Always carry with 1 hand on arm & 1 hand on base! • Use a slide & coverslip. • Clean Up: • Always return to scanning (lowest) power! • Always lower stage all the way! • Unplug, wrap cord, & cover
Intro. Microscope Lab NO HORSEPLAY!! • Follow the directions carefully… don’t skip over things just because you don’t feel like reading!