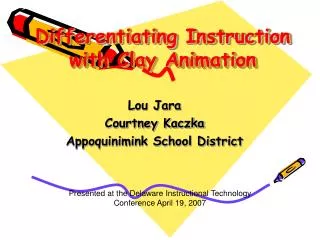
Clay Animation
Claymation is a form of stop-motion animation using clay to create characters and scenes. In this engaging project at Huntington Elementary School, students will work collaboratively to develop a meaningful storyline, create their clay figures, and produce a short animation using digital cameras and software like Windows Movie Maker. This hands-on activity not only fosters creativity and cooperation but also teaches essential skills in planning and executing a project. From sculpting to filming, students will learn the principles of animation while having fun!

Clay Animation
E N D
Presentation Transcript
Clay Animation Marybeth O’Brien Grade 4 Teacher Huntington Elementary School
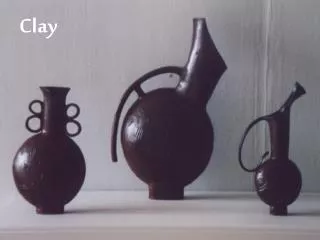
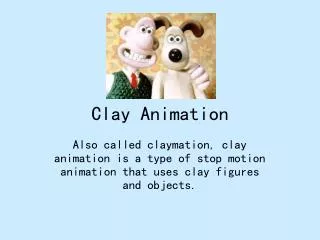
What is Claymation? • Claymation is the generalized term for clay animation a form of stop animation using clay • http://www.wisegeek.com/what-is-animation.htm • The term claymation was coined by its creator, Will Vinton, owner of an animation studio that worked with clay artists to create clay animation. • Claymation involves using objects or characters sculpted from clay or other moldable material, and then taking a series of still pictures that are replayed in rapid succession to create the illusion of movement. http://www.wisegeek.com/what-is-a-raisin.htm
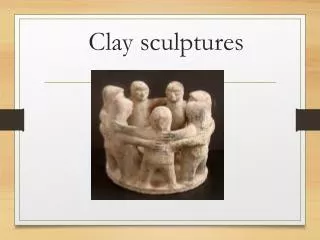
What goes into Animating Clay? • Artists sculpt the characters out of clay and often support the sculpture with wire molds underneath. • To create the illusion of movement, the position of the sculpted characters is altered slightly in every still photo, or frame. • Claymation generally requires a storyboard or background for the characters to be set against and to develop what they will do or say. • Depending on the length of production, the same character may need to be sculpted hundreds of times.
Principles of Claymation • Camera and Lighting positions must remain constant • Clay movements should be minimal within each picture • Human hands must not appear in pictures • The simpler the scene…the more noticeable the clay animation becomes • Hard work will produce a magnificent creation, but the size of the video may only be a BLINK! • 300-600 pictures creates a 45 sec-1 min video
Purpose of Claymation • The purpose of this Clay Animation project is for students to work cooperatively in the presentation of a classroom curriculum topic utilizing lab hardware (computer, camera) and software (Image Blender) while referring to the Classroom Applications Guidelines sheets demonstrating capability of following directions. It’s very important to have a good time doing this!
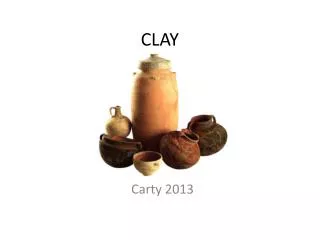
Equipment • Backboard/Poster Board • Modeling Clay • Toothpicks for Body Part Support • Fishing Line • Sequins, etc. (decoration) • Styrofoam • Digital Camera • Windows Movie Maker, iMovie, etc • Movie Player Program • Computers
A few tips for the trade • Do not huddle around figures (may leave shadows) • Make sure figures aren’t too heavy • Toothpicks are helpful to support figure body parts • Fishing line VS string so that it is invisible • Slow, gradual movement of figures • Take many pictures 200-600! • Simple and few characters (too many to move gets complicated)
A few Themes of Interest • Bean plant growth over time • Bird nest building progress • Student change during school year • Science: • Food chain • Forest procession • Water cycle • Solar System • Butterfly metamorphosis • Social Studies: • Pioneer and Indian Thanksgiving • Story of Rosa Parks • ‘I Have A Dream’ speech • Geography Around the Word
Let’s Get Started • 1. Select two or three students to work on your Clay Animation with. Be sure to select partners that you are able to work well with. • 2. Collaborate with your partners to come up with a well thought out storyline for your animation. The storyline must have a beginning, middle, and end. • 3. Create your background scene using ONE (1) poster board. Your background should not be a quick scribbled picture but a well planned and thought out scene that coincides with your storyline. ALL group members must work on the background scene cooperatively • 4. Create your clay figures. Do not waste modeling clay or leave any mess for someone else to clean up. Your characters must have been approved, created by all partners, and done with care.
More Steps • 5. Make many small moves with your figures and step back when taking the pictures so that you do not create a shadow on the picture • 6. After completing all of your shots transfer your pictures to the H: drive once you are signed on as Hunt Student, place them in the file named Obrien, then ClaymationPics and create a new folder with your project name on it. • 7. Open your pictures in MovieMaker. You will need to search for your folder on the Server. Create your animation according to the Movie Maker steps.
HollyWood quality • You need to be ready to start taking pictures at the beginning of the class time so that you are able to take all of your shots and not have to start again on a different day. Your animation will not move as smoothly if you have to stop in the middle of shooting pictures. • Once the camera/tripod/background are in place, don’t move them an inch! Animations look much more realistic if the background and camera are not jumping back and forth • Turn on ALL of the lights in the classroom so that you will have plenty of light to see the animation activity
…Watchful eye and attention to detail • Take turns taking pictures and moving the characters so that each member has the opportunity to do all of the jobs • Make MANY SMALL moves with your characters. No big movements that jump your character from point A to point B. You want 50 pictures not 15. The more pictures that you have the better your animation will be. • Finish up at least 5 minutes before the end of class so that your pictures can be transferred to your folder. Do not leave until your pictures are transferred. We don’t want your animation lost • Clean up all of your mess. Throw away your background, save whatever clay that can be reused.