Download
1 / 13
160 likes | 401 Vues
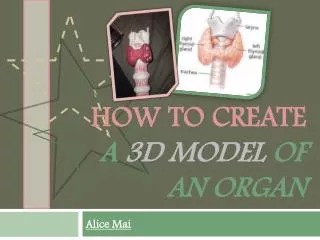
HOW TO CREATE a 3D model of an organ. Alice Mai. Introduction:.

E N D
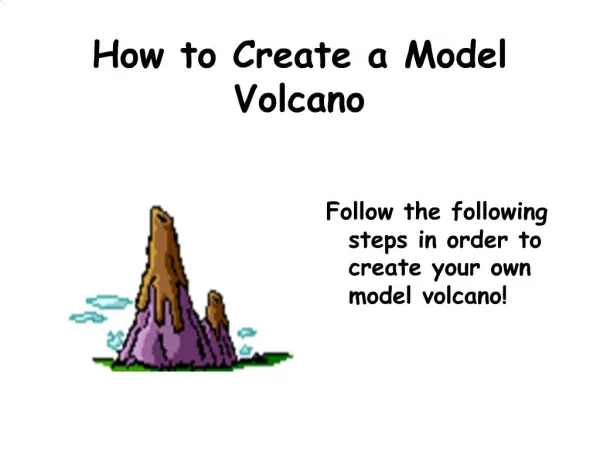
HOW TO CREATE a 3D model of an organ Alice Mai
Introduction: Hello, you are now reading this because you would like to know “HOW TO CRAETE a 3D model of an organ”. This information guide will teach you step by step on how to simply build your own human organ. This process is created with materials that are actually shattered proof, so no modeling clay is necessary, this is ideal because your 3D project will last about a life time. Today’s organ will be the thyroid gland. • Materials that are needed: • Black Garbage Bag • Liquid Glue (two bottles) • Foam Balls • White and Red Paint • Paint Brushes • Paper Towels • Paper Towel Roll • Imitation Small Pearls • Fine Tip Black Marker • Scissors • Ruler • Cardboard Scraps • Sandpaper
Step One: Collect all the materials listed below and set them out neatly. Then place the big plastic garbage make on the area you are working on. This would provide a protection layer for your working space, so that paint, glue and foam shavings would not go on any of your surfaces at home. Materials that are needed: Black Garbage Bag Liquid Glue (two bottles) Foam Balls White and Red Paint Paint Brushes Paper Towels Paper Towel Roll Imitation Small Pearls Fine Tip Black Marker Scissors Ruler Cardboard Scraps Sandpaper
Step Two: • Using those measurements, carefully draw out the left and right glands of the thyroid on a thin cardboard piece, then cut these pieces out. • Take a couple of foam balls and cut them in half and glue them down against the gland pieces, after that take the sandpaper and sand down the semi foam balls to even it out to the shape of the gland. Write down the measurements of both the length and width of the thyroid gland. Be critical and precise because the right thyroid gland is slightly larger than the left thyroid gland.
Step Three: • For the middle attachment of the thyroid gland, a foam ball was partially cut off of the top and bottom and was then sliced half way in the middle, this will create a sort of hinge. After all the pieces has foam ball pieces on it, use torn up pieces of paper towel and glue them onto the gland pieces, the process is basically paper-macheing. Take some paper towels and scrunch them into long strips and tape them onto a paper towel roll, these are ridges on the trachea. Make about three rings down the tube.
Step Four: Using an outline again, draw the top part which is the larynx of the trachea and fold it into the same structure as a trachea, add scrunch up pieces of paper towels on to it to give it a 3D looking effect. Glue the trachea pieces together and then glue the thyroid pieces together. After letting it dry, use the paper-macheing technique with the paper towels and glue for both the trachea and thyroid gland.
Step Five: After the trachea and the thyroid gland pieces have dried, paint the trachea white and paint the thyroid gland soft pink colour (mix white and red to get a pink colour).
Step Six: • Next is to add details, stroke small lines between the ridged rings of the trachea to represent the muscle portion of the trachea piece. To make these lines, use a variety of different colour lines such as white, pink and a dark pink. To add details to the thyroid gland, add a touch of darker pink to it by blobbing it around the thyroid gland.
Step Seven: Once it has dried, on the back of the thyroid gland, add two imitation pearls to each side of the thyroid gland, these are represented as the parathyroid glands.
Step Eight: As the parathyroid glands are drying, flip to the front side of the thyroid glands and draw details of the principal cells, parafollicular cells and the colloids with a thin black marker. After that paint the colloids areas light pink.
Step Nine: • After the back has dried, paint the parathyroid glands red so that it can stand out more from the pink. The paint any areas around the imitation pearls that the glue may show.
Step Ten: • After everything has dried, add two magnets to the front of the trachea, a bit below the larynx and add another two magnets a bit above the thyroid gland, so that the thyroid gland can be attached and taken off whenever.
& YOU’RE FINISHED! Thank-you for reading on “how to create a 3D model of an organ”.