Digital Production
Digital Production. Recap Types of shot Subject Position Complex shots. Recap Lesson 2. Elements of the shot Camera Angle 180 degree rule Crossing the line Health and safety (filming) Demonstrate setting up a tripod. Types of shot.

Digital Production
E N D
Presentation Transcript
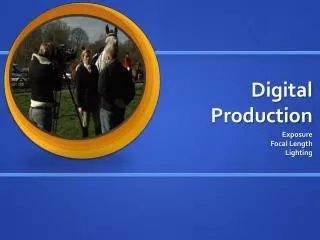
Digital Production Recap Types of shot Subject Position Complex shots
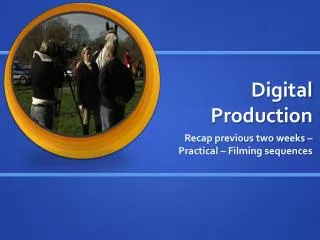
Recap Lesson 2 • Elements of the shot • Camera Angle • 180 degree rule • Crossing the line • Health and safety (filming) • Demonstrate setting up a tripod
Types of shot • Simple – made without any movement. 12 common used shots. This is the most effective shot. • Complex – made with movement of subject or object or lens, pan, tilt or both • Developing – composed of a subject or object made with movement either of subject, lens, pan, tilt or all (here the viewpoint is in one position and shifts to another with or without the subject)
Subject position Refers to anything being shot. Refers mainly to people. There are three main reference positions of a single subject: • Direct to camera – used when someone has to talk with the camera. A subjective shot. • Three quarters profile – subject is looking at someone or something. An objective shot. • Profile – subject may look in or out of the frame. There may be more than one person. An objective shot.
Headroom • Distance between top of subject’s head and the top of the frame. As shot size changes , headroom changes, until in closer shots it disappears altogether. Allow for “cut-off”
Noseroom • Often called “looking room” – distance between eye furthest away from camera and edge of frame to which person is looking • Can be left or right
Footroom • Space on some wider shots between the feet of the subject and the lower edge of the frame
Two shot • Where two people are in the frame • Profile two shot* • Direct to camera two shot • Over the shoulder two shot*
Complex shots • Pan – movement of camera left to right • Tilt – movement of camera up or down • Focus – well defined image (sharp) • Zoom – infinite set of lenses Start frame Pan End frame
REMEMBER – THE REASON FOR SHOOTING IS EDITING Show the audience what they need to see (audience expectation) to help them understand Never be obtrusive – obtrusive camera work draws attention away from the action. Be observant Know your equipment – know how to use it. Understand f-stops, focal lengths, filters Know your subject – be prepared. Work out your shots before you shoot. Know your light – calculate where the sun will be at different times of the day, seasons, etc
Task • Practise the following shots: • Two shot • Threequarter profile shot • Pan • Direct to camera Think about headroom, footroom, noseroom and composition. Remember to hold each shot for SIX seconds