Download
1 / 13
131 likes | 208 Vues
Learn about the introduction, calibration overview, and process of calibrating conductivity, pH, and ORP sensors for optimal performance in your water system. Understand the importance of calibration and different calibration methods. Find calibration tips for best results.

E N D
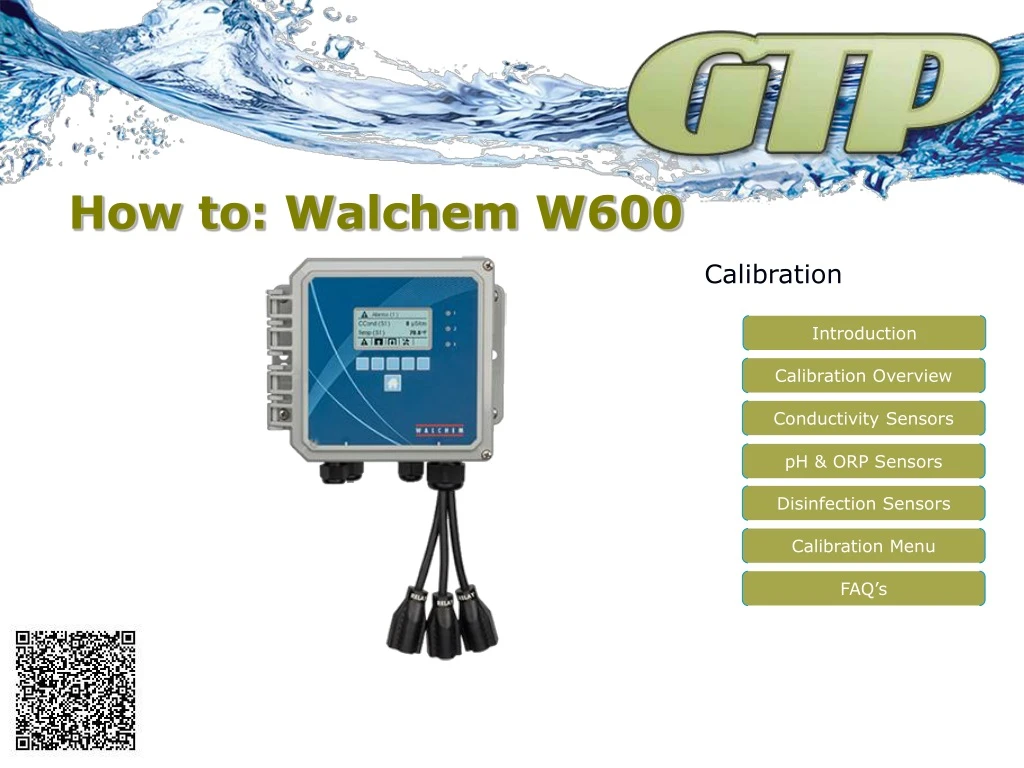
How to: Walchem W600 Calibration Introduction Calibration Overview Conductivity Sensors pH & ORP Sensors Disinfection Sensors Calibration Menu FAQ’s
Introduction Large Custom LCD Display Walchem W100 controller designed on a universal platform for flexibility and performance. Large custom display shows alarms, user defined fields and menu items. Custom symbol based menu icons help guide you through settings and screens with ease. Features: Large custom display User defined inputs & outputs Single sensor input Contacting & Electrodeless Cond Sensors pH or ORP Sensors Disinfection Sensors Three user defined relay outputs 115VAC or Dry Relays Pulse Proportional Relays Two user defined digital inputs Flowswitch, Water Meter or Flow Sensor Optional 4-20mA outputs Relay Indicators Tactile Keypad 3 User Defined Relay Outputs Sensor & Digital Inputs
Calibration All controllers & sensors need to be calibrated and there are many factors to their accuracy and longevity. Whether we are talking conductivity, pH, ORP or disinfection sensor, many variables effect how it displays on your controller. Many factors can effect your results from temperature variations, wiring distance from control, grounding and ungrounded equipment. The most popular calibration (one point process) is taking a reading and just forcing the controller to read that value. We understand we are all in a hurry, but what just happened is we just adjusted the display. There was no cleaning, no zero reference and we could be unsure where it is in the life span of the sensor. For best results, remove from line and make sure probe is clean and free from debris. Checking the raw value is helpful to determine how long the sensor will last.
Calibration For best results, isolate and remove from line and make sure probe is clean and free from debris. Checking the raw value is helpful to determine how long the sensor will last. Even if your using you handheld tester and the system fluid as a reference for calibration, it is best to do in a cup on a bench. Just make sure your not resting the sensor on the bottom of the cup. There are a few different types of calibrations that the W600 uses, let’s explain them, so we can choose the best for your application.
Calibration One Point Process: This refers to leaving the sensor in the process and you will manually enter the value. For most applications this will be fine for cooling tower, boilers and most un-governed or restricted process. Be aware that there is no reference to zero and the movement from this calibration could be off the further you get from it. One Point Buffer: This refers to removing the sensor from the process and placing it in a known value. This one still does not reference zero, but will do for most applications and the sensor/controller should determine what solution you are in. Two Point Buffer: The two point buffer solution is mostly for pH/ORP applications where you should be giving the sensor/controller a slope or rate of change. This one will determine what solution you are in and will reference the zero and should always be done on governed or restricted application/installations.
Calibration Calibration Tips: Always remove from the line to inspect sensor, clean debris and do a bench test with either a process sample or known solution. Make sure all wiring connections are correct and free from moisture or fluid. Cables standardly only come 20FT, if the sensor is farther then that, there is a splice. If the cable length is further, make needed changes to maintenance in controller to account for this cable length. When replacing a sensor, be sure to reset calibration values. The controller remembers and learns from the sensor/application. ALWAYS do a two point calibration when your application is critical to inspection. The better the calibration exercise, the better off you will be.
Conductivity Sensors Conductivity: The electrical conductivity of a solution is measured by determining the resistance of the solution between two flat or cylindrical electrodes separated by a fixed distance. The most common units of measure are ms/cm (micro Siemen per cubic centimeter) and PPM (parts per million). Which ever you use, bringing the value to the screen will need calibration. Boiler Sensor Standard Carbon Sensor Electrodeless Conductivity Sensor
pH & ORP Sensors pH Sensors: Although there are a few different definitions of the term “pH” (potential of hydrogen), it is the measurement of alkalinity for a solution. As shown on the scale, Acidic solutions are below neutral and Caustic solutions are above. ORP Sensors: Oxidation reduction potential can be used for water system monitoring with the benefit of a single-value measure of the disinfection potential, showing the activity of the disinfectant rather than the applied dose. ORP Sensor pH Sensor
Disinfection Sensors Amperometric disinfection sensors offer a cost effective and reliable solution to your disinfection control requirements. These sensors continuously and directly measure the chemical concentration, without the use of reagents. We offer sensors, in varying ranges of concentration, for free chlorine/bromine, total chlorine, chlorine dioxide, ozone, peracetic acid and hydrogen peroxide. Whether the application is a cooling tower, food and beverage, drinking water, wastewater, or swimming pool, these sensors are the ideal solution. Free Chlorine Sensor Extended Range Chlorine Sensor
One Point Calibration Home Screen Calibration Menu Press the UP (inputs) arrow key Using the up and down arrow key, highlight the desired calibrate process to perform and press the ENTER key Inputs Menu New Value Using the up and down arrow key, highlight the desired input to calibrate and press the ENTER key (lower right) Use the up, down and right arrow to change the new value, press check when done CCond Input Stabilization Press the calibration crosshair symbol In-Line readings will be flocculating, bench or cup solution will stabilize faster. Allow the reading to stabilize.
Calibration Hopefully we are getting the success, more frustratingly is the fails. There are many reasons that we could have gotten a failure. Commonly the reading is out of range. The controller will only allow 1.5 times what the raw value is. Some settings will push this out of range, so if the maintenance is right (temperature, cable lengths, etc.) the sensor needs to be replaced. Stray voltages or ungrounded equipment can cause false reading also. Make sure your doing a bench test and that the cable is running in a dedicated conduit and not near or wrapped around a motor or electric magnet. Cal Success / Fail Check to accept and X to cancel
FAQ’s Troubleshooting the sensor, where do I start? Best to run down this check list: • Is the sensor clean? • Is the sensor damaged? • Is the sensor connect properly? • Is the sensor wire free from stay voltages? • Is the sensor maintenance done properly? • What is the sensor raw value? • What is the sensor temperature value? If you are still having trouble, call us with this information and we should be able to help. Which calibration type is best? Depending on the installation/application and governing inspections will make all the difference. Everyday applications one point process/buffer should be fine. Critical application that may even have government inspection, two point and reset values when changing out sensor. Make sure you make good notes for these installations, better the paper trail, better off you will be. What calibration buffer should you use? Best to get a buffer solution that is around where you operate. Keeping the calibration in range and defining the slope near where you process will make a difference. The calibration fails and says, out of range? Well, as a fail safe, the manufacturer know the anything over 1.5 times the known value is critically limiting the life of the sensor. Best to run down check list to the right and pull sensor for a bench test.
Contact Us Mailing Address: General Treatment Products P.O. Box 8697 Brea, CA 92822-5697 Shipping Address: General Treatment Products 113 Viking Ave. Brea, CA 92821 Phone: 714) 257-9165 FAX: 714) 257-9215 Internet:http://www.gtpcompany.com E-Mail:customerservice@gtpcompany.com


