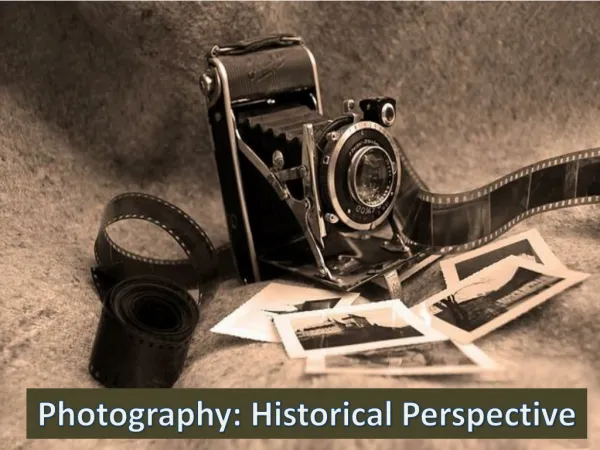
Photography
150 likes | 285 Vues
Elevate your photography skills by mastering the essential techniques of composition and exposure. The Rule of Thirds helps create balanced and engaging images by positioning your subject away from the frame's center. Learn about the Exposure Triangle—aperture, shutter speed, and ISO—to control light and depth of field in your shots. Discover how each setting impacts your photography, from capturing motion to achieving the desired grain in your images. Use this guide to develop your eye and experiment with different camera settings for outstanding results.

Photography
E N D
Presentation Transcript
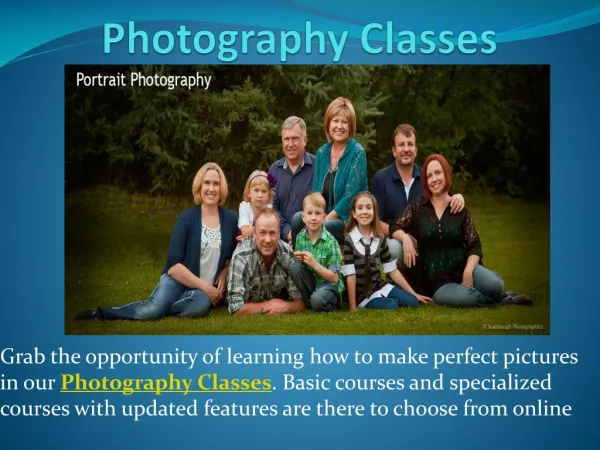
Photography How to make the most out of your shots
Rule of Thirds Imagine a tic-tac-toe box over your composition…try to crop so your subject is NOT square in the middle. This same arrangement can be imagined for portrait or landscape positioned photos…
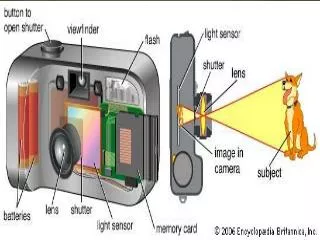
Exposure Triangle Imagine your camera is like a window with shutters that open and close… APERTURE is the size of the window – if it’s bigger, the more light gets through and the room is brighter Now, imagine you’re inside the room and are wearing sunglasses…Your eyes become desensitized to the light that comes in (it’s like a low ISO) SHUTTER SPEED is the amount of time that the shutters of the window are open. The longer you leave them open, the more that comes in.
Digital camera exposure There are a number of ways of increasing the amount of light in the room…. Increase the time that the shutters are open (decrease shutter speed) Increase the size of your window (increase aperture) Take off your sunglasses (make ISO larger…)
Understanding ISO ISO stands for “International Organization for Standardization” …it is an indicator of the film's sensitivity to light. Light sensitive crystals are an all or nothing proposition. They either react and are subsequently developed, or they do not, and the speed at which they react is the same for any given film. It is more a function of size, but speed is how it's described. The increase in speed is a result of larger crystals since they are able to react more to light than smaller ones. If this is difficult to grasp, think of them as tiny buckets gathering light. Larger ones gather more, thus producing more image in the same length of fixed time. However, a noticeable increase in the graininess of the image is usually associated with fast film. It is safe to say that doubling the number 400 vs 200) means the film is twice as "fast". High ISO captures more… but you also get more “grain” Lower ISO captures less – but also less “grain”
Aperture Setting your Aperture determines your DEPTH OF FIELD The LARGER your aperture setting (the smaller your F-stop number on your camera setting) the SHALLOWER your depth of field…allowing you to capture images like these…
Aperture/Dept of Field The SMALLER your Aperture (using a larger F-stop number) creates a deeper depth of field… Same subject – LARGER Aperture/ smaller F-stop number f/8.0 f/2.8
Shutter Speed …the amount of time that the shutter is open. It is the length of time that the film was exposed to the scene you’re photographing…OR in digital photography, it’s the length of time that your image sensor “sees” the scene you’re attempting to capture. Shutter speed is measured in SECONDS – or in most cases, fractions of seconds. The bigger the denominator, the faster the speed. (1/1000 is much faster than 1/30) In most cases, your shutter speed is set to 1/60. Anything LOWER, and you’ll pick up “camera shake.” Use a tripod.
Shutter Speed If the camera was an EYE – shutter speed is like the dilation of your pupil: The darker the room you’re in, the WIDER your pupil grows to capture as much light, right? Well, Shutter Speed is quite similar: The DARKER your subject – the SLOWER your shutter speed should be to capture the light in the image. Shutter Speed is also adjusted to capture movement. SOMETIMES a blur looks good – giving a sense of motion and distortion… Using a SLOW shutter speed….
Shutter Speed …low shutter speed …high shutter speed
Rule to Follow Choose a shutter speed with a denominator that is larger than the focal length of your lens. For example, if you have a lens that is 50mm…a shutter speed of 1/60th is ok….but if you have a 200 mm lens, you’ll want to shoot at around 1/250. The SLOWER the shutter speed, the LONGER the shutter stays open..which means – you can’t just point and click…you have to remain stable long enough for the shutter to close and the image is captured (hence…tripod!)
That’s all great…but how do I adjust on MY camera? READ THE MANUAL FOR YOUR CAMERA! Go into that section beyond “Getting Started” and read about how to change the ISO, the aperture & shutter speed. TAKE lots of pictures – PLAY around with different settings. Usually, all digital cameras now have a “reset” button. It will return all settings to the original automatic settings when you’re done playing. TRY KEEPING A PHOTOGRAPHY JOURNAL. Write down the # of the photo, and record in your journal what speeds/settings you used – and what effects the settings had on the photo. TAKE your notes one step further: list out possible photo ideas that would benefit from that setting!