Crystal Formation: Minerals Illustrated
220 likes | 332 Vues
This training presentation introduces students to minerals and crystals through hands-on experiments. Learn the defining characteristics of minerals, set up crystal growth environments, and explore the chemical makeup of different minerals. Understand the crystalline structure of minerals as you observe crystal formation in real-time. Enhance your knowledge with interactive activities and demonstrations. The presentation covers key concepts such as inorganic nature, solid state, and definite chemical composition of minerals. Engage with the material to reinforce your understanding of these geological elements.

Crystal Formation: Minerals Illustrated
E N D
Presentation Transcript
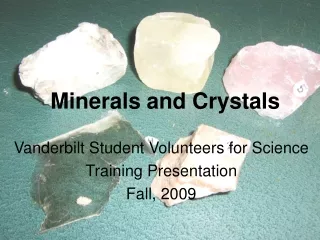
Minerals and Crystals Vanderbilt Student Volunteers for Science Training Presentation Fall, 2009
Important!!! • Please use this resource to reinforce your understanding of the lesson! Make sure you have read and understand the entire lesson prior to picking up the kit! • We recommend that you work through the kit with your team prior to going into the classroom. • This presentation does not contain the entire lesson—only selected experiments that may be difficult to visualize and/or understand.
Preparation • The Sodium Carbonate Solution should be handled carefully. Shaking and jarring could hinder the growth of the crystals for the students. • While one VSVS volunteer is doing the introduction with the students, another should be pouring the solution into 9 oz cups (each about half full).
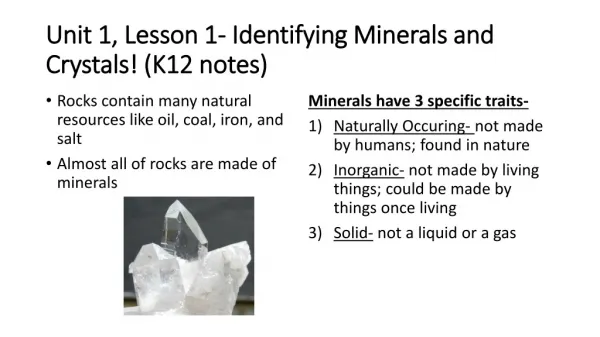
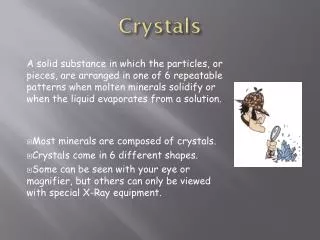
I. Intro- The Definition of a Mineral • Ask students if they can give you any examples of minerals. • Display the poster of the four characteristics. Keep it on display for the remainder of the lesson. • Tell the students that there are four defining characteristics of a mineral: • Minerals are solids • Minerals are inorganic • Minerals have a definite chemical make-up • Minerals have a crystalline structure
I. Intro- The Definition of a Mineral • Ask students if they can give you any examples of minerals that we might see/use in everyday life. (Some examples are Aluminum/Bauxite, Graphite (in pencils), gold, halite (salt) and quartz (used in making glass and paints). • Point out that minerals are different from rocks because rocks are made from small bits of minerals.
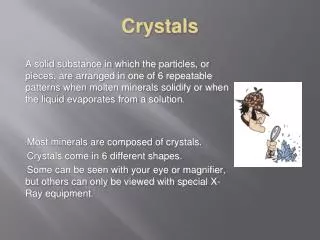
I. Intro- The Definition of a Mineral • Give each pair a magnifying glass and a piece of granite. Be sure to point out that granite is a rock, not a mineral, but it is easy to see the three main minerals that make granite: feldspar, mica, and quartz. • Tell students to use their magnifying glasses to look closely at the granite to find the pieces of different minerals.
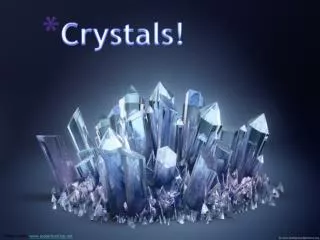
II. Crystal Lab • In this section of the lesson, students will set up growing environments for crystals so that they should be able to see crystals by the time you get to the Crystalline structure section of the lesson.
II. Crystal Lab • Group students in pairs. • Pass out the cups of sodium carbonate solution. As they are being passed out, tell the students what is in the solution (water and sodium carbonate). Sodium Carbonate is often referred to as “washing soda” and is used for laundry. • Students should wrap one end of the pipe cleaner around the popsicle stick leaving about 7 cm (2 ¾ inches) hanging down. The pipe cleaner should go almost to the bottom of the cup, but not touch the bottom.
II. Crystal Lab • Tell the students to dip their pipe cleaner in the solution, then pull it out and sprinkle some sodium carbonate powder onto the wet part of the pipe cleaner. This is the seed crystal.
II. Crystal Lab • Lay the popsicle stick over the top of the cup so that the pipe cleaner hangs down into the solution. • Tell the students to set their cups aside but to watch throughout the class to see if they are changing (Crystals should begin forming in 15-20 minutes).
III. Inorganic and Solid • Ask students if they know the definition of inorganic. If they can’t tell you, explain that it is something that is not made of anything that is or has been alive. • Show the students a piece of coal and explain that it is NOT inorganic, because it is made of the remains of dead plants. • Pass the specimen around so that students can feel how light weight it is and discuss why the coal might be so light. • Make sure that students are aware that minerals must be solid (this should be a familiar concept to them, but it does not need to be overlooked).
IV. Definite Chemical Make-Up • Display a periodic table. Ask students what they know about this table. After you have listened to their answers, explain that this table shows all of the elements that are known to us. Elements are the most basic assembly of atoms. • Explain that minerals can be made up of either one element (such as gold and iron) or a combination of elements called a compound. • Ask the students if they think that every element is also a mineral. Use this question and their answers to re-direct them to the fact that a mineral must be a solid (gasses, such as oxygen and hydrogen, therefore, cannot be minerals).
IV. Definite Chemical Make-Up • Explain that halite is made of the compound Sodium Chloride (NaCl) which is a combination of one part sodium for every one part chlorine. (Point out those elements on the periodic table to demonstrate that those are elements.) • Show the model of the chemical structure of NaCl and point out how the sodium (the red balls) and the chlorine (the blue balls) are arranged in a 1 to 1 pattern which forms a cube.
IV. Crystalline Structure *For this section, student pairs should join together to form groups of four.
IV. Crystalline Structure • Pass out all materials. • Based on the picture they have just seen, ask students to try to guess which of the 4 minerals in their bag is halite. Ask for justification for these answers.(the justification should include that since halite’s chemical composition is cubical, it will produce a cubic shape) • Explain that, as they can see from the shape of the halite, the arrangement of the atoms in the elements and compounds affects the shape of the mineral.
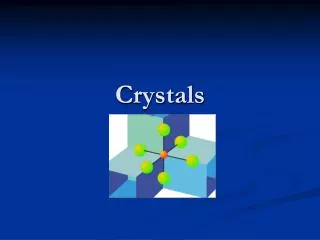
IV. Crystalline Structure Explain that a crystalline structure means that the atoms, making up the elements and compounds in the mineral are always arranged in the same orderly, repeating pattern. This means that certain minerals will always form and/or break in the same repeating shapes. (The way a mineral breaks refers to its cleavage or fracture.)
IV. Crystalline Structure Tell students that there are six main classifications of crystal structures: • rhombohedral, • cubic, • triclinic, • monoclinic, • hexagonal, • tetragonal. Direct the students’ attention to the cards they have for each one, along with showing the cardboard model.
IV. Crystalline Structure • Tell students to use their spoons to spread out a very small amount of salt on one piece of construction paper, and Epsom salt on the other. (1/4 of a taster spoon of each is plenty.) • Have students use their magnifying glass to observe the shape of each substance.
IV. Crystalline Structure • Give them a few minutes to make their own observations, then talk to them about the difference in shapes they see between the salt and Epsom salt. • Students should draw pictures of the shape of each on their observation sheets. • Tell them that salt, as already discussed, has a cubic shape, and Epsom salt has a hexagonal shape. Show the models of these two structure types as examples.
IV. Crystalline Structure • Tell the students to examine their mineral specimens and use their cards to try to identify what type of crystal structure each mineral has. They can use their magnifying glasses to help them observe more closely. Keep the models displayed where all students can see them. • Give the students about 5 minutes to identify all of their mineral structures then discuss the answers as a class. They should record their initial answers on their observation sheets, then revise them after the class discussion.
IV. Crystalline Structure • At this point, the crystals should be growing. Direct the students attention to these and allow them time to observe, ooh and aah over them. • Tell students that their formations will continue to grow over time, and they should keep a watch on them over the next few days.
IV. Review At the end of the lesson, use these questions to review the content. There is a section on the observation sheet for students to record answers as each question is discussed. See how you do… • What are the 4 defining characteristics of a mineral? • What is the difference between an element and a compound? • What does a crystal’s shape depend on? 4. Explain why each of these would NOT be considered minerals • Hair • Honey • Granite

![[PDF] Gemstones, Crystals, and Minerals for Beginners: The New Illustrated Guide](https://cdn7.slideserve.com/12455371/slide1-dt.jpg)