
SlideServe
Menu
Préférences
© SlideServe · v2026

Audio Visual Training

cassidy-cohen avatar
14 diapositives · 346 Views · Nov 20, 2014

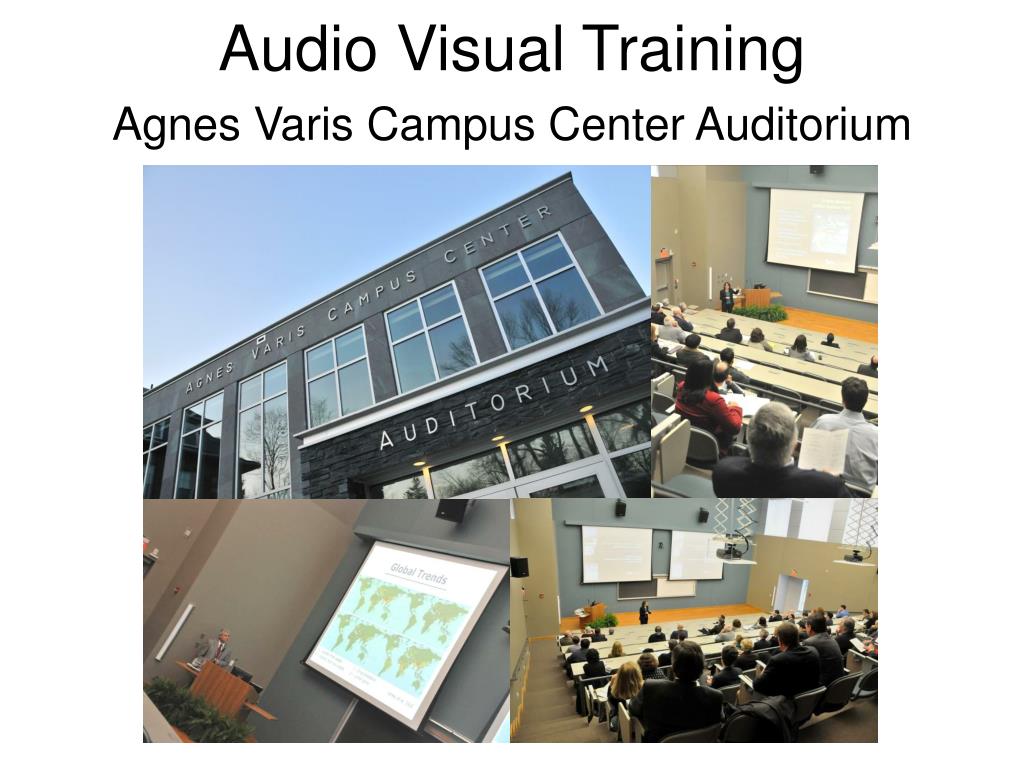
Audio Visual Training. Agnes Varis Campus Center Auditorium. Startup Screen.

Audio Visual Training - slide 1
01 / 14Audio Visual Training
1 / 17

Télécharger la présentation

Audio Visual Training
Une image / un lien ci-dessous est fourni (tel quel) pour télécharger la présentation

Politique de téléchargement : le contenu du site vous est fourni TEL QUEL pour votre information et votre usage personnel ; il ne peut être vendu, concédé sous licence ni partagé sur d’autres sites sans l’accord de son auteur.Le contenu vous est fourni TEL QUEL, pour votre information et votre usage personnel uniquement. Téléchargez la présentation en cliquant sur ce lien. Lors du téléchargement, si vous ne parvenez pas à télécharger une présentation, l’éditeur a peut-être supprimé le fichier de son serveur.Pendant le téléchargement, si vous ne parvenez pas à obtenir une présentation, le fichier a peut-être été supprimé par l’éditeur.

F I N

Plus de contenu associé

Transcription de la présentation
  1. Audio Visual Training Agnes Varis Campus Center Auditorium

  2. Startup Screen The starting point for the touch panel control system begins with the system in the powered-down state. If the screen is blank, touch the panel with your finger to activate it. The Startup Screen is the first screen encountered. It looks like this: To begin, touch the screen. The Select Your Session screen appears.

  3. Select Your Session The Select Your Session screen lets you choose a system operating mode. Powers-up the left and right projectors. While this is occurring, the touch panel displays a “Please Wait” message and a countdown to the ready state. Then it displays the Local Presentation screen. Powers-up the left and right projectors. While this is occurring, the touch panel displays a “Please Wait” message and a countdown to the ready state. Then it displays the Video Conference screen. BE AWARE THAT BECAUSE THE PROJECTORS RETRACT FROM THE CEILING, THEN START UP, THEN THE SCREENS COME DOWN, THIS PROCESS TAKES ALMOST 10 MINUTES

  4. Local Presentation The Local Presentation screen lets you route output from the Source devices (such as the DVD, a computer, or an auxiliary device) to the left and right Projectors. This screen also provides access to the controls for the multimedia equipment that you wish to use for your presentation. The Local Presentation screen looks like this:

  5. These controls only operate the equipment in the control room and are of • little or no concern if you are piloting your own presentation.

  6. After you select a component, you need to direct the system as to which side you want the image/information to go; left right or bot. This differs from other presentation set ups on campus wherein you simply select the component and it appears on screen. * • THERE ARE TWO WARNING SCREENS THAT ASK IF YOU ARE SURE YOU WANT TO SHUT DOWN. THIS IS DUE TO THE LENGTH OF TIME IT TAKES FOR THE EQUIPMENT TO SHUT DOWN – AND THEN RE-START. • THEREFORE, IF YOU ACCIDENTLY SHUT DOWN, IT WILL TAKE OVER 15 MIN. FOR THE SYSTEM TO BE USEABLE

  7. Audio Feed The second, or most recently selected component, will be the audio feed. If you select the PC and send it to the right screen, and then select TV Tuner and send that to the left, the audio feed will come from the TV Tuner. If you then choose to show a video from the PC, you will not hear the sound. At this point you would change the order of selection.

  8. Video Conference Main Menu The Video Conference Main Menu screen provides access to the multimedia equipment and video conference controls. This screen looks like this:

  9. Conference Sources The Conference Sources page lets you select a source to control, display locally, and send to the remote site in a video conference. These controls look like this: This page and all of it’s choices is the same as the LOCAL PRESENTATION screen minus Re-displays the Video Conference Menu controls.

  10. Utilities The Utilities controls buttons provide projector screen and lift controls, master volume controls, and mute buttons for each input. This screen also displays the current lamp hours for each projector. The Utilities screen looks like this: It is STRONGLY recommended that only those trained on how to use the system operate these controls

  11. Trouble Shooting • The wireless mic isn’t picking up the lecturers voice. Check the GAIN dial on the side of the pack and turn it clockwise • There’s no audio after selecting a new source. The most recent selected source is where the audio feed will come from. For instance, if you have selected TV for both sides and then select PC, there will be no audio from the TV as it was not the most recently selected. To solve this, re-select TV and select the same side that it is already on.

  12. These are stream-lined instructions on how to operate the system without bogging the casual user down with too much information. If you are interested in acquiring a complete manual please contact andrew.cunningham@tufts.edu You will need to justify your need for a hard copy.