Download
1 / 11
120 likes | 413 Vues
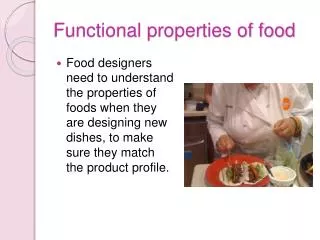
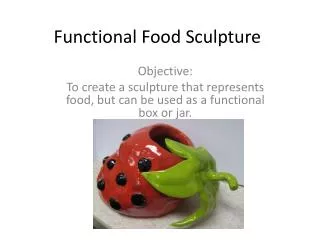
Functional Food Sculpture. Objective: To create a sculpture that represents food, but can be used as a functional box or jar. Recognizable Pop Art . Marilyn Monroe Series Andy Warhol, 1960s. Campbell Soup Cans Andy Warhol, 1962. Pop Art inspired…. Spoonbridge and Cherry

E N D
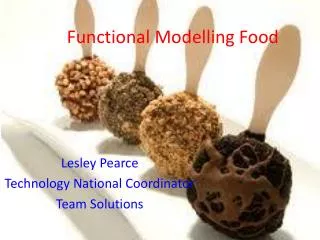
Functional Food Sculpture Objective: To create a sculpture that represents food, but can be used as a functional box or jar.
Recognizable Pop Art Marilyn Monroe Series Andy Warhol, 1960s Campbell Soup Cans Andy Warhol, 1962
Pop Art inspired… Spoonbridge and Cherry Claes Oldenburg, 1988
Dropped Cone Claes Oldenburg, 2001
Procedure: • Choose a food…look through food magazines for ideas, if you need to. • Decide on a technique to create the food – slab, coil, or both. • Decide on how to make your lid…will you cut it off of the food, or build it separately & add it on? (it must have a “lip” to prevent it from falling off) • You may add a base (plate, bowl, napkin, etc) • These will be glazed & fired to look as realistic as possible.
You may need to use a mold… • A mold is something you can form clay around to give it it’s shape. • Find something in the room that you can use as a mold. • Drape plastic over it to prevent the clay from sticking. • You may need to cut a section of clay out of your slab in order to create the form.
Clay slab on the mold. Cut section out of clay Seal seam in clay
Getting started: • If you have decided to use slabs to build your food, make a paper template for correct sizes. • If you are using coils or pinch techniques, you may get your clay. • Remember to include textures using incising & applique methods to create a realistic & detailed food box.