Floral Design Bud Vase Construction
130 likes | 326 Vues
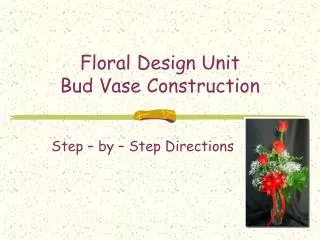
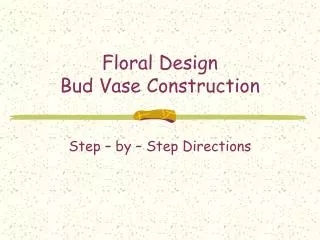
Floral Design Bud Vase Construction. Step – by – Step Directions. Original Power Point Created by Karen Nolcox Modified by Georgia Agricultural Education Curriculum Office September 2005. Step 1: Select Materials. 1 long-stem rose or 1 carnation (any color) 2-3 stems leather leaf ferns

Floral Design Bud Vase Construction
E N D
Presentation Transcript
Floral DesignBud Vase Construction Step – by – Step Directions Original Power Point Created by Karen Nolcox Modified by Georgia Agricultural Education Curriculum Office September 2005
Step 1: Select Materials • 1 long-stem rose or 1 carnation (any color) • 2-3 stems leather leaf ferns • 1 stem baby’s breath or other filler flower • Other Foliage (Optional) • 1 ½ yards #3 ribbon • Wire • Floral Tape • Bud Vase • Card and Pick
Step 2: Fill Vase with Water • Fill bud vase with preservative water to within 2 inches of the top.
Step 3: Remove Lower Foliage • Remove all foliage and thorns that will be under water to prevent rot and ethylene gas.
Step 4: Cut the Flower Stem • Cut the flower stem to a height of 1 ½ to 2 times the height of the vase.
Step 5: Wire the Rose • Use 22 gauge wire • Use the straight-wire method • Gradually wrap wire around the stem, being careful not to break off leaves • Do NOT tape
Step 6: Insert the Flower into the Vase • Place the rose in the vase. • Turn the most desirable side outward.
Step 7: Add Foliage • Select 2 pieces of leather leaf fern that are slightly taller than the flower. • Place these behind the flower. • They should be triangular in appearance, and may bend slightly away from the flowers.
Step 8: Add Baby’s Breath • Add a sprig of baby’s breath. • Baby’s breath should surround the rose inside of the foliage.
Step 9: Make and Insert a Bow • Make a bow using #3 ribbon • Bow color should match flower • Bow should have four to five loops • Attach bow to a pick • Insert the pick into the front of the vase
Step 10: Refrigerate • Place the completed vase in the cooler or refrigerator to help preserve the flowers.
Step 11: Clean up the Work Area • Put away all materials • Sweep and clean the work area