Download
1 / 40
400 likes | 421 Vues
Learn how to use OpenGL functions to draw 2D objects such as points, lines, and polygons. Set colors, change line widths, enable antialiasing, and specify viewing regions. Clipping and opacity techniques will also be covered.

E N D
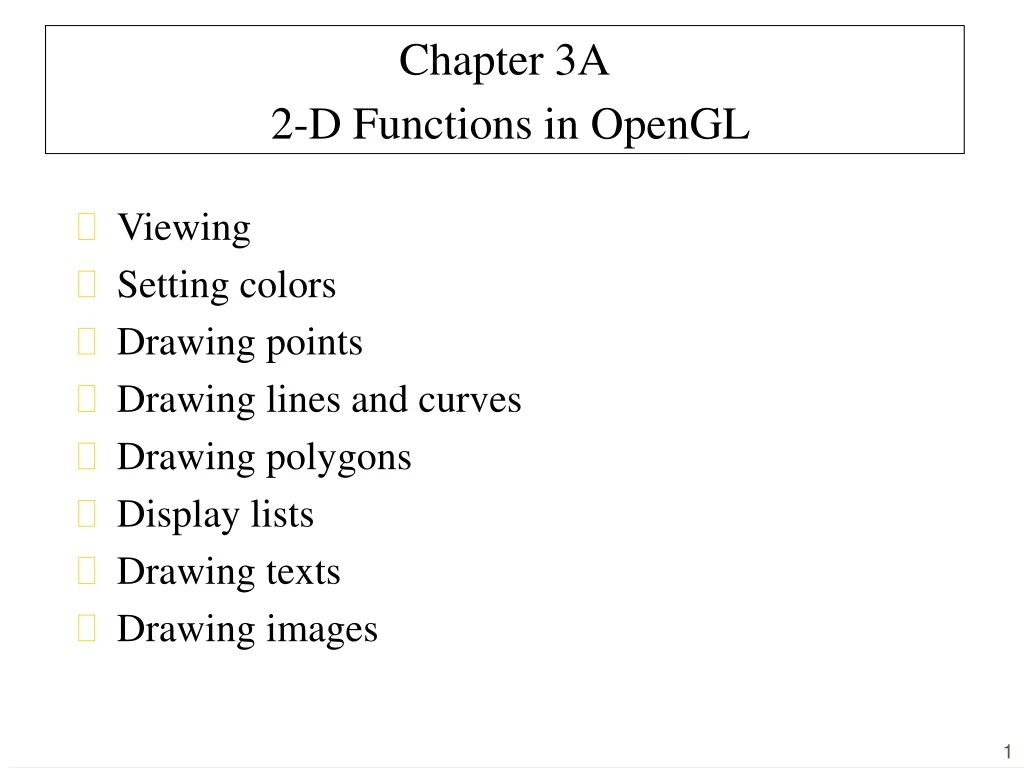
Chapter 3A 2-D Functions in OpenGL • Viewing • Setting colors • Drawing points • Drawing lines and curves • Drawing polygons • Display lists • Drawing texts • Drawing images
(1,2) (0,0.7) (1.5,0.2) (-0.7,-0.7) (0.7,-0.7) • We will study OpenGL concepts and functions for drawing 2-d objects. • Conceive that there is a board of infinite size and with an imaginary x-y coordinate axes (World Coordinate) • We can call OpenGL functions to draw objects on this board • OpenGL will display objects in a rectangular region of this board on the screen. (2,2)
To set the current color glColor3f( red, green, blue) Each of red, green and blue lies in[0.0, 1.0], 0means no intensity, 1 means maximum intensity. E.g., to set the current color to white, use glColor3f(1.0, 1.0, 1.0); • To draw a point at (0, 1) of the world coord. using the curr color. glBegin( GL_POINTS); glVertex2f( 0.0, 1.0); glEnd();
The default width of a point is 1 pixel. To change the size of a point to 5 pixels, call glPointSize( 5.0); • To draw 4 green points of size 3 pixels glColor3f( 0.0, 1.0, 0.0); glPointSize( 3.); glBegin( GL_POINTS); glVertex2f( 0, 1); glVertex2f( 0, 0); glVertex2f( 1, 1); glVertex2f( 1, 0); glEnd();
Antialisaing is achieved by blending the current color with the existing color in drawing (see Chapter 2) • Consider that we are drawing a green line on a white background. The (r, g, b) for green is (0, 1, 0) and that for white is (1, 1, 1) . Suppose that the overlapping proportion of the pixel G is = 0.77, the new pixel value of G is then set to
with without • To enable antialiasing in point drawing glEnable( GL_BLEND); glBlendFunc( GL_SRC_ALPHA, GL_ONE_MINUS_SRC_ALPHA); glHint( GL_POINT_SMOOTH_HINT, GL_NICEST); glEnable( GL_POINT_SMOOTH); • To disable antialiasing in point drawing glDisable( GL_POINT_SMOOTH);
To draw a line glBegin( GL_LINES); glVertex2f( 0.0, 0.0); glVertex2f( 1.0, 1.0); glEnd(); • To draw two lines glBegin( GL_LINES); glVertex2f( 0.0, 0.0); glVertex2f( 1.0, 1.0); glVertex2f( 1.0, 0.0); glVertex2f( 0.0, 1.0); glEnd();
To draw a set of lines glBegin( GL_LINES); double t = 0.; for (int i=0; i < 11; ++i) { glVertex2f( 0., 0.); glVertex2f( cos(t), sin(t) ); t = t + 0.05 * 3.14159; } glEnd(); sin t 1 t cos t
To change the width of a line (the default is 1) glLineWidth( 3.0); • To enable antialising in drawing lines glEnable( GL_BLEND); glBlendFunc( GL_SRC_ALPHA, GL_ONE_MINUS_SRC_ALPHA); glHint( GL_LINE_SMOOTH_HINT, GL_NICEST); glEnable( GL_LINE_SMOOTH); width = 1 width = 3
To disable antialiasing in drawing lines glDisable( GL_LINE_SMOOTH); • To draw lines connecting a sequence of points glBegin( GL_LINE_STRIP); glVertex2f( 0.0, 0.0); glVertex2f( 1.0, 1.0); glVertex2f( 1.0, 0.0); glVertex2f( 0.0, 1.0); glEnd() This one obtained using GL_LINES
Viewing To specify a rectangular region in world coordinates for display. Objects outside this region are not shown (clipping) (2.5, 2.5) glMatrixMode(GL_PROJECTION); glLoadIdentity(); gluOrtho2D(-1, 2.5, -1, 2.5); glMatrixMode(GL_MODELVIEW); (2,2) (1,2) (0,0.7) (1.5,0.2) (-0.7,-0.7) (0.7,-0.7) (-1, -1) glMatrixMode(GL_PROJECTION); glLoadIdentity(); gluOrtho2D(-1, 1.5, -1, 1.5); glMatrixMode(GL_MODELVIEW); (1.5, 1.5) (-1, -1)
The general format of the viewing region specifying function is gluOrtho2D(xMin, xMax, yMin, yMax); • The aspect ratio of the rectangle is (xMax-xMin)/(yMax-yMin) • The size of a window is specified in main() glutInitWindowSize( width, height); //in terms of pixels • If we want to display a picture with correct proportion, the aspect ratio of the window shall be the same as that of the viewing region. Otherwise, a square will look like an uneven rectangle and a circle will look like an ellipse. xMax yMin xMax xMin
To set the size of a window //In main(), before the window is created glutInitWindowSize( nPixelInWidth, nPixelInHeight); . . . //In init() gluOrtho2D(-0.162, 1.778, -0.1, 1.1); . . . //In display() glBegin( GL_LINE_LOOP); glVertex2f( 0.0, 0.0 ); glVertex2f( 1.0, 0.0 ); glVertex2f( 1.0, 1.0 ); glVertex2f( 0.0, 1.0 ); glEnd(); glutInitWindowSize( 194, 120); glutInitWindowSize( 150, 150);
We need to clear the frame buffer when a window is displayed. • To set the clear buffer color, eg, glClearColor( 0.0, 0.0, 0.0, 1.0); //Set to black In general, glClearColor( r, g, b, a) • To clear a buffer glClear(GL_COLOR_BUFFER_BIT); • As suggested in Chapter 1, we shall put glutInitWindowSize(...)statement in main(),gluOrtho2D(…) and glClearColor(...)in init(), and glClear(…) indisplay()of a program. Opacity 0: transparent 1: opaque
(cos t, sin t) 1 t • To draw a circle glutInitWindowSize( 200, 200); . . . gluOrtho2D( -1.1, 1.1, -1.1, 1.1); . . . glBegin( GL_LINE_LOOP); int n = 10; double t; for (int i=0; i < n; ++i) { t = i * 2.0 * 3.14159 / n; glVertex2f( cos(t), sin(t) ); } glEnd(); n = 10 n = 100
(acos t, bsin t) b t a • A circle will look like an ellipse if we specify glutInitWindowSize( 200, 150); gluOrtho2D(-1.1, 1.1, -1.1, 1.1); • Drawing an ellipse is similar to drawing a circle except the calculation of vertex positions glVertex2f( a*cos(t), b*sin(t) );
To draw a curve defined by f(x), for xMin x xMax • Find n+1 points on the curve that are evenly spaced in (xMin, xMax). Draw n lines connecting those points. • As an example, to draw f(x) = 5cos(x)/x, for 1 x 20 f(x) (x, f(x) ) xMin xMax
glutInitWindowSize( 420, 128); . . . gluOrtho2D( -0.5, 20.5, -3.2, 3.2); . . . int n = 100; double xMin=1.0, xMax =20.0, x, dx = (xMax - xMin) / n; glBegin( GL_LINE_STRIP); //draw the curve for (int i=0; i <= n; ++i) { x = xMin + i*dx; glVertex2f( x, 5.0*cos(x)/x ); } glEnd(); glColor3f( 1.0, 1.0, 1.0); glBegin( GL_LINES); //draw the axes glVertex2f( -0.3, 0); glVertex2f( 20.1, 0); // x-axis glVertex2f( 0.0, -3.1); glVertex2f( 0.0, 3.1); // y-axis glEnd();
To draw a simple convex polygon glBegin( GL_POLYGON); //Draw the mouth glVertex2f( 0.53, 0.16); glVertex2f( 0.67, 0.17); glVertex2f( 0.72, 0.25); glVertex2f( 0.45, 0.22); glEnd(); • To enable antialiasing in drawing polygons glEnable( GL_BLEND); glBlendFunc( GL_SRC_ALPHA, GL_ONE_MINUS_SRC_ALPHA); glHint( GL_POLYGON_SMOOTH_HINT, GL_NICEST); glEnable( GL_POLYGON_SMOOTH); • To disable antialiasing glDisable( GL_POLYGON_SMOOTH);
Without antialiasing With antialiasing • For efficiency, we seldom enable antialiasing when we draw polygons. Instead, we redraw the edges of the polygons afterward with antialiasing lines.
(acos t, bsin t) b t a • To draw a filled ellipse as a polygon glBegin( GL_POLYGON); int n = 40; double a=2.0, b =1.0, t = 0.0; for (int i=0; i < n; ++i) { t = i * 2.0 * 3.14159/ n; glVertex2f( a*cos(t), b*sin(t) ); } glEnd(); P2 P1 P0
To draw a triangle //Draw the nose glBegin( GL_TRIANGLES); glVertex2f( 0.58, 0.52); glVertex2f( 0.5, 0.3); glVertex2f( 0.66, 0.3); glEnd(); • If 6 points are provided, 2 independent triangles will be drawn. • In general, n independent triangles will be drawn for 3n points.
To draw a triangle fan glBegin( GL_TRIANGLE_FAN); glVertex2f( x0, y0); glVertex2f( x1, y1); glVertex2f( x2, y2); . . . glVertex2f( x6, y6); glEnd(); 5 triangles are drawn. In general, n2 triangles are drawn for n points. The order of points is significant. P3 P5 P4 P2 P6 P1 P0 1st one is P0 P1 P2 2nd one is P0 P2 P3 3rd one is P0 P3 P4 . . .
To draw the hairs of the face as a triangle fan glBegin( GL_TRIANGLE_FAN); glVertex2f( 0.7, 0.95); glVertex2f( 0.3, 0.9); glVertex2f(0.15, 0.65); glVertex2f( 0.55, 0.75); glVertex2f( 0.6, 0.6); glVertex2f( 0.8, 0.75); glVertex2f( 0.99, 0.7); glEnd(); P0 P1 P6 P3 P5 P2 P4
To draw a sequence of adjacent triangles glBegin( GL_TRIANGLE_STRIP); glVertex2f( x0, y0); //P0 glVertex2f( x1, y1); //P1 glVertex2f( x2, y2); //P2 . . . glEnd(); Note that n-1 triangles are drawn for n points and the order of points is significant. P3 P1 P5 P0 P7 P6 P4 P2 1st one is P0 P1 P2 2nd one is P1 P2 P3 3rd one is P2 P3 P4 . . .
V1 V6 V2 V3 V3 V5 V4 V7 V0 V7 V0 V1 V1 V2 V0 V3 V6 V4 V4 V5 V2 V6 V3 V1 V4 V5 V3 V5 V4 V2 V2 V0 V4 V2 V3 V1 V0 V1 V0
More on Colors • In opengl, a color is associated with a vertex. • If all vertices of a line or a polygon have the same color, the entire object will be shown in a single color. Eg, the components of the face What happens if not? glBegin(GL_LINES); glColor3f( 1., 0., 0.); glVertex2f( -.5, 0.); glColor3f( 0., 1., 0.); glVertex2f( .5, 0.); glEnd();
A C B • If the colors of the two vertices of a line are not the same, the color changes gradually from one end to another. • Blending The color of an in-between point is determined by
glBegin(GL_TRIANGLES); glColor3f( 1., 0., 0.); glVertex2f(0, 0.7); glColor3f( 0., 1., 0.); glVertex2f(-0.7, -0.7); glColor3f( 0., 0., 1.); glVertex2f(0.7, -0.7); glEnd();
A D E A row of pixels F B C Determine the colors of a pixel of a polygon • The color of D is blended from the colors of A and B as in the case of an ordinary line • The color of E is blended from A and C in the same way • The color of F is then blended from D and E in the same way
How to draw this rainbow? • First draw a line containing 5 segments where the six vertices have colors on the rainbow. • Repeatedly draw the line along an arc of a circle/ellipse
The output looks more realistic if the middle is brighter than the ends
In previous examples, colors of in-between points of a line segment are blended from the colors of end points • The blending can be extended to mix the existing color of a pixel with the color of an object being drawn. Semi-transparent objects can be produced in this way. • First specify the alpha value using the opengl function glcolor4f( r, g, b, alpha) • The color actually drawn is Color( r, g, b) + (1-) Existing_Color
//Define the blending function glBlendFunc( GL_SRC_ALPHA, GL_ONE_MINUS_SRC_ALPHA); . . . //Enable blending before calling glColor4f(…) glEnable( GL_BLEND); . . . //Define the color and the alpha value glColor4f( r, g, b, 0.6); //Draw ... glBegin(GL_TRIANGLES); glVertex2f(0, 0.7); glVertex2f(-0.7, -0.7); glVertex2f(0.7, -0.7); glEnd(); . . . Kaleidoscope
//hkgluEllipse() draws the circumference of an ellipse of width = 2a and // height = 2b. n is the number of lines used to approximate the // circumference. The ellipse is centered at (0, 0). // A circle is drawn when a = b. This function calls sin(), cos() in math.h // Sample calls: hkgluEllipse( 1., 1., 40); //A unit circle // hkgluEllipse( 2., 1., 60); // void hkgluEllipse( double a, double b, int n) { int i; double t; glBegin( GL_LINE_LOOP); for (i=0; i < n; ++i) { t = i * 2.0 * 3.14159 / n; glVertex2f( a*cos(t), b*sin(t) ); } glEnd(); } //hkgluEllipse()
//hkgluEllipseDisc() draws an elliptic disc of width = 2a and height = 2b. // n is the number of lines used to approximate the circumference. // The ellipse is centered at (0, 0). A circular disc is drawn when a = b. // This function calls sin(), cos() in math.h // Sample call: hkgluEllipseDisc(1., 1., 40); hkgluEllipseDisc( 2., 1., 60); // void hkgluEllipseDisc( double a, double b, int n) { int i; double t; glBegin( GL_POLYGON); for (i=0; i < n; ++i) { t = i * 2.0 * 3.14159/ n; glVertex2f( a*cos(t), b*sin(t) ); } glEnd(); } //hkgluEllipseDisc()
These functions are stored in hkglu.cpp • A straightforward way to use these functions is to copy the content of hkglu.cpp in the beginning of your C++ program. • A better way is • Include hkglu.cpp and hkglu.h in the project. • Add the following statement in the beginning of your program. #include “hkglu.h” • hkglu.h is the header file which contains the headings of all accessible functions in hkglu.cpp . (Both files are posted in the course web page.)
#ifndef _HKGLU_2003 //Content of hkglu.h #define _HKGLU_2003 #include <GL/glut.h> #include <stdio.h> //hkgluEllipse() draws . . . void hkgluEllipse( double a, double b, int n); //hkgluEllipseDisc() draws an elliptic disc . . . void hkgluEllipseDisc( double a, double b, int n); #endif /*_HKGLU_2003 */