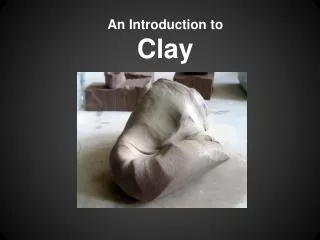
Introduction to Clay
Introduction to Clay. Experiencing Clay Chapter 1-3. Ceramic Raw Clay Throwing Hand Building Plastic Glaze Score Slip Firing Kiln Traditional Pottery Wedging Kneading. Pinch Coil Extruder Slab Mold Slab Roller Drape Mold Slump/Press Mold Drying Shrinkage Bone Dry

Introduction to Clay
E N D
Presentation Transcript
Introduction to Clay Experiencing Clay Chapter 1-3
Ceramic Raw Clay Throwing Hand Building Plastic Glaze Score Slip Firing Kiln Traditional Pottery Wedging Kneading Pinch Coil Extruder Slab Mold Slab Roller Drape Mold Slump/Press Mold Drying Shrinkage Bone Dry Leather Hard Green Wear Vocabulary
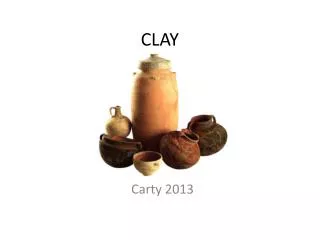
Chapter 1 • What is Clay? • Clay is the result of break down of the earth’s rock. Weather, ice, Water and the crust movement breaks down granite rock and part of the granite is the basis for clay.
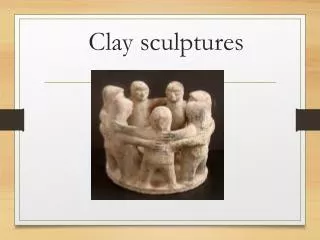
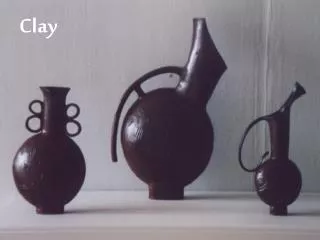
To embellish or add a visual element to a story Religious ritual Effigies (representation of a person in remembrance) Containers to store crops, water, seeds. Bowls to eat and drink out of. Pots to cook with. Early uses for Ceramics
4 methods to forming clay pieces: • Pinching • Coiling • Slab Building • Molding
Why is it important to control the speed that your clay piece dries. • If your clay dries to fast I may crack and break. • Some parts of your clay may be thinner than others and may dry at different rates. This can also cause your clay to separate or crack. • If your clay dries too fast it is not workable any more. • You may also need to let some of your pieces harden a little to make them more substantial while you build your form.
Decorating Techniques • Incising: carving or cutting the surface with a sharp tool. • Impressing: using an object to press or stamp a design into the clay. • Combing: marking the surface of the clay with uniform lines. • Burnishing: rubbing and polishing the surface with a smooth stone or hard wood.
Chapter 2 • What are the different Clay Properties? • Plasticity • Shrinkage • Texture • Moisture
Plasticity • It is easier to work with plastic clay. • This property is dependent on the amount of water and other compounds that are in the clay.
Shrinkage • As your clay piece looses water it will shrink. • Firing your piece will cause it to shrink even more. (the clay we use will shrink about 12%)
Texture • The texture of the clay will depend on the additives in the clay. • Some clay will have other materials in it to make it stronger. • Different textures of clay are used for different projects. (you need to use a smother clay to make useful pottery so that it will be hard and water tight.)
Moisture • All clay contains water • You can add water to rehydrate the clay and make it more plastic again. • Too much water makes the clay loose plasticity and turn into a liquid. • You may need to rehydrate your clay as you work. • When you are not working you need to cover your clay with a plastic bag to keep the moisture in. • The only way to get all of the water out of your clay is to fire it. • Thick walls may hold moisture pockets in them. The trapped moisture will turn to steam and expand. This expansion will cause the pocket to explode in the kiln. • Once the clay is fired it is permanently hardened and can not be made plastic again.
Kneading Form a loaf shape Tear or cut in half Slam back together Stand above and use your body weight to push down. Wedging Use both hands at the same time to lift, rotate and press the clay. Kneading and Wedginguse these techniques to get air bubbles out of clay after it has been over worked or to mix water into dryer clay.
Drape Mold Lay your clay over the mold and form it into the shape you want. The mold will hold it in place while it dries. Slump Mold Lay or press your clay down into the mold. (also called Press Molds) Drape and Slump Moldsuse molds to hold your clay in position while it dries
Pinch Pot:form the clay into a vessel shape by making a ball, Pushing your thumb into the center of the ball and then using your thumb and fingers in a pinching motion to form the walls.
Coilingrolling out long snake like pieces of clay and then joining them together to build your clay piece.
Slabbingrolling out flat pieces of clay to be used to build your clay form.