The iPod Touch
80 likes | 310 Vues
The iPod Touch. The home screen of the iPod Touch is similar to the desktop of your computer. The Settings icon is where we’ll focus our attention. The settings screen. On the <Settings Screen> you’ll find headings for the various options that can be adjusted. We’ll be looking at Wi-Fi.

The iPod Touch
E N D
Presentation Transcript
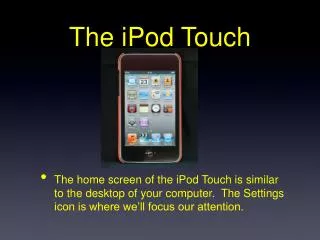
The iPod Touch • The home screen of the iPod Touch is similar to the desktop of your computer. The Settings icon is where we’ll focus our attention.
The settings screen • On the <Settings Screen> you’ll find headings for the various options that can be adjusted. We’ll be looking at Wi-Fi
All items necessary to connect to wireless networks are located in the Wi-Fi Networks Screen. In this screen, we will turn the Wi-Fi radio on. Once the radio is on, we will began to see nearby wi-fi networks.
If the network you are trying to connect to is not visible, you will need to choose <Other>. You will be presented with the screen above. You will place the SSID (Service Set Identifier) for your network in the space marked <Name> and you will select the appropriate network security from the space marked <Security>.
Once you choose the type of network security that is compatible with the network youare trying to connect to, you will be prompted for a network password. Next click Join.
In this screen you will need to make sure DHCP is selected. Once you are connected to the network you see the following information on your iPod. IP Address, Subnet Mask, Router, DNS Search Domains and Proxy Settings.
The final step in the network configuration is the proxy setting. There are two DOE proxy methods available to you. One is manual and the other is an automatic script. For the manual method, you will follow the steps above. Choose <Manual> enter <proxy> in the server space and enter <8002> in the port space. Authentication stays in the off position.
The second method of proxy configuration uses a URL(Uniform Resource Locator) similar to a web address. The address is: • http://proxy.nycboe.org/proxy.pac • This address would be entered under the Auto Tab seen on the last slide. • When you click on the Auto Tab, you will be prompted to enter the above URL