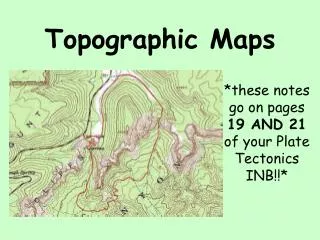
Topographic Profiling
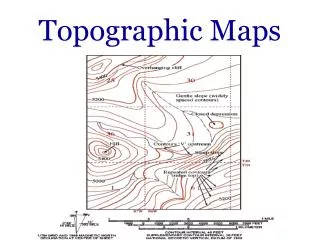
Topographic Profiling. -DeMarco. The first step:. Strike a line across the feature that you would like to profile. It is possible that this may already be done for you. -The line will probably be referred to as Line A-B or Line A-A’. Notice line AB.


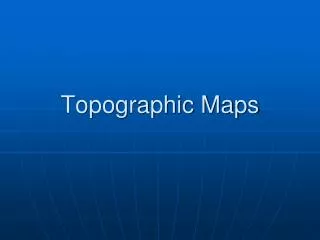
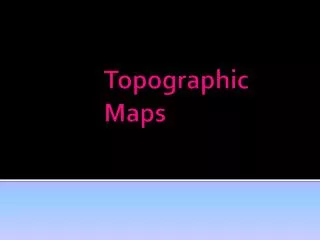
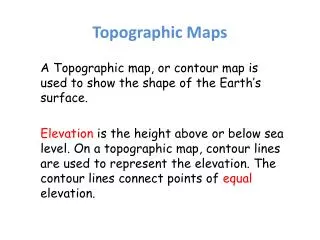
Topographic Profiling
E N D
Presentation Transcript
TopographicProfiling -DeMarco
The first step: • Strike a line across the feature that you would like to profile. • It is possible that this may already be done for you. • -The line will probably be referred to as Line A-B or Line A-A’
So, if we were to look at a profile view of line AB on our topographic map, what might we expect to see? Predictions? Time to FIND OUT! Step 2
Make the X-axis exactly as long as line AB. Label it as “distance”
Next, decide what the HIGHEST and LOWEST elevation values are that line AB crosses on your topographic map and create a scale. You may wish to increase your scale by the contour interval on the map to make things easier. In this case, we are going up by 10’s, because our contour interval on the map is 10 meters.
This is what you might expect the “profile” or cross section view of line AB to look like!
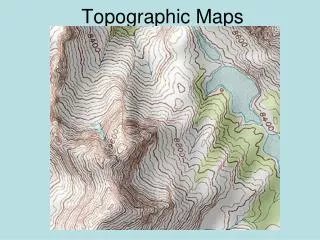
Does it make sense? SURE! There is a creek flowing through this region. Think about where it would flow on your profile. We also recognize the V shaped contour lines that indicate the direction of water flow.
Or… if you are lucky enough to be able to do your profile on the same page as the topographic map… You can use the: “Drop down a dotted line” method! Example
Gradient • Now lets figure out the gradient or steepness of the map between POINTS C & D. • GRADIENT= CHANGE IN ELEVATION DISTANCE
Gradient • Gradient Between C & D= 310-230 = 80 = 26.7 meters/km 3 3
THE END • Special thanks to Charles Burrows… some of the images are from his website.