Download
1 / 28
280 likes | 302 Vues
Learn about the processes of annealing and hardening in heat treatments. Understand their characteristics, advantages, and disadvantages, and how to select the appropriate tools for domestic, commercial, and industrial products. Ensure safe experimentation and refinement of designs.

E N D
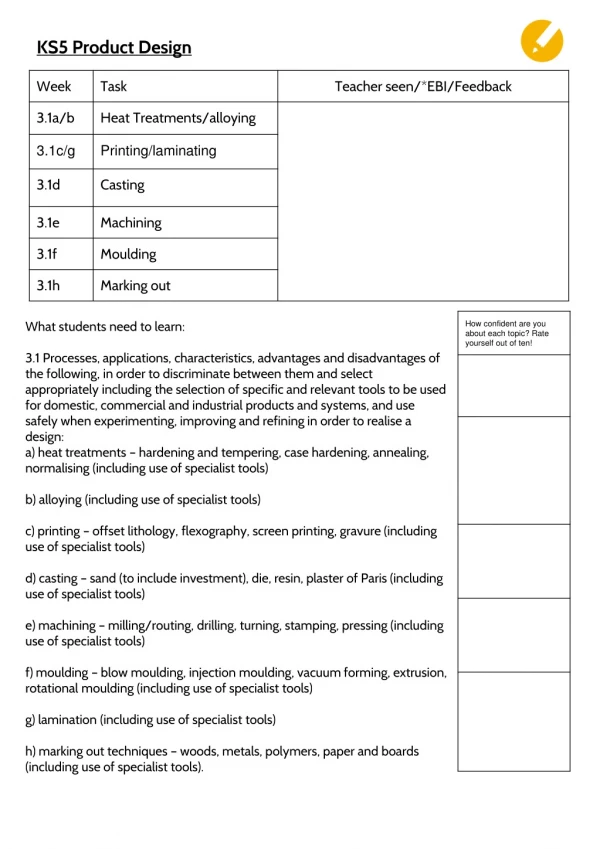
KS5 Product Design What students need to learn: 3.1 Processes, applications, characteristics, advantages and disadvantages of the following, in order to discriminate between them and select appropriately including the selection of specific and relevant tools to be used for domestic, commercial and industrial products and systems, and use safely when experimenting, improving and refining in order to realise a design: a) heat treatments – hardening and tempering, case hardening, annealing, normalising (including use of specialist tools) b) alloying (including use of specialist tools) c) printing – offset lithology, flexography, screen printing, gravure (including use of specialist tools) d) casting – sand (to include investment), die, resin, plaster of Paris (including use of specialist tools) e) machining – milling/routing, drilling, turning, stamping, pressing (including use of specialist tools) f) moulding – blow moulding, injection moulding, vacuum forming, extrusion, rotational moulding (including use of specialist tools) g) lamination (including use of specialist tools) h) marking out techniques – woods, metals, polymers, paper and boards (including use of specialist tools).
Processes - Heat Treatments Read this and highlight the ten most important words. Annealing Read this Metals have a crystalline structure which makes them malleable. When a force is applied the material the crystals squash together and they start to dislocate, eventually they brittle fracture. An example of this is when you keep manipulating a aluminium drinks can, for a while it will move back and forth into positions gradually hardening. Eventually it will split. When manufacturing metals it is important to make sure that it does not brittle fracture (otherwise manufacture will have to start again from the beginning) to prevent this we anneal metals. Annealing allows the metal to recover from dislocation so that it stops being hard and returns to a malleable state. Annealing is commonly used in jewellery making where lots of changes are applied to very small/thin pieces of non-ferrous metals. Draw/trace/upload a diagram of how to anneal aluminium below. Heat treating is a group of industrial and metalworking processes used to alter the physical, and sometimes chemical, properties of a material. The most common application is metallurgical. Heat treatments are also used in the manufacture of many other materials, such as glass. Heat treatment involves the use of heating or chilling, normally to extreme temperatures, to achieve a desired result such as hardening or softening of a material. Heat treatment techniques include annealing, case hardening, precipitation strengthening, tempering, normalizing and quenching. It is noteworthy that while the term heat treatment applies only to processes where the heating and cooling are done for the specific purpose of altering properties intentionally, heating and cooling often occur incidentally during other manufacturing processes such as hot forming or welding. https://en.wikipedia.org/wiki/Heat_treating
Processes - Heat Treatments Hardening and tempering Heat the entire piece of steel slowly at first. Then, concentrate the heat on the area that is to be hardened, such as a chisel point or screwdriver blade tip, until that area glows red hot. Quench the steel in oil. Dipping the hot steel into oil cools it slowly allowing it to harden consistently throughout.. http://www.wikihow.com/Harden-Steel Draw the three stages of hardening here as a storyboard. (Draw, photo, upload - to help you memorise the information.) Case hardening Review step one and two of hardening in your storyboard from the previous page, now read the alternative step 3. Step 2 Step 1 Step 3 Chisel points and screwdrivers are mentioned in the paragraph. Why do they need to be hard? (This is an example exam question.) Step 3 The steel is heated again to a red colour, removed from the brazing hearth and plunged into cold, clean water. The steel rod should now have a hardened outer surface and a flexible, soft interior. The process can be repeated to increase the depth of the hardened surface. http://www.technologystudent.com/equip1/heat2.htm Case hardening - Step 3
Processes - Heat Treatments When metals are put through treatment processes the designer/maker is usually trying to balance out how tough or hard they need to be, for example, a twist drill bit needs to be very hard so that it stays sharp and can cut through materials that are also relatively hard. However, because the drill bit has undergone hardening and tempering it becomes very brittle, this means that it is easily snapped if twisted. Conversely screwdrivers need to be more tough because they have to withstand the motion of being pushed and twisted (torque) but the tip needs to be hard so that it doesn’t deform when it’s being used, so it needs to be tempered to a different level (see the colour chart below.) Complete the chart below. Toughness Hardness & Brittleness Hardness & Brittleness Toughness
Processes - Alloying Draw a storyboard for power metallurgy.
Processes - Printing - Offset lithography Draw/trace/copy/upload a diagram of offset lithography here.
Processes - Printing - Flexography Draw/trace/copy/upload a diagram of flexography here.
Processes - Printing - Gravure Draw/trace/copy/upload a diagram of gravure here.
Processes - Printing - Screen printing Draw/trace/copy/upload a storyboard of screen printing here.
Processes - Casting - Sand casting Draw/trace/copy/upload a storyboard of sand casting here.
Processes - Casting - Investment casting Draw/trace/copy/upload a storyboard of investment casting here.
Processes - Casting - Die casting Draw/trace/copy/upload a storyboard of die casting here.
Processes - Machining Research each process and then choose one of the following tasks to record what you have found out about each one. (You could choose a different way of recording the information for each or complete them all in the same way.) Write a short paragraph explaining the process. Draw a diagram that shows the process. Write down 8 keywords that explain what the process does (DO NOT write a sentence.) Write a rhyme or limerick about the process. Write a tweet about the process (no more than 140 characters.)
Processes - Machining Find two pictures of products made using each process! Draw/trace/copy/paste/upload. You decide.
Processes - Moulding - Injection/extrusion Draw/trace/copy/upload a diagram of injection moulding here.
Processes - Blow moulding Draw/trace/copy/upload a storyboard of blow moulding here.
Processes - Vacuum forming Draw/trace/copy/upload a storyboard of vacuum forming here.
Processes - Rotational moulding Draw/trace/copy/upload a storyboard of rotational moulding here.
Processes - Moulding recap Using the internet find 20 different images of different plastic products. Make sure you include at least 2 from each type of moulding process. Don’t put them in any particular order (we’re going to do some cutting, sticking and note taking!)
Processes - Moulding recap Complete the glossary.
Processes - Vacuum laminating woods Draw a storyboard that shows how veneer and plywood can be vacuum laminated using a bag press.
Processes - Marking out Move/cut and stick these tools into groups. Name the groups, explain your choices. Can you think of any more?


