Mastering Forms in Database Design
Learn to create, design, and customize forms in a database with AutoForms, Form Wizard, controls, and more. Dive into form sections, calculations, and data display. Enhance user experience with format properties and web data presentation.

Mastering Forms in Database Design
E N D
Presentation Transcript
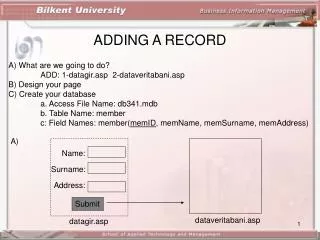
Lesson 6 Adding Forms to aDatabase
Objectives 1. Create AutoForms. 2. Create a form using the Form Wizard. 3. Work with form sections. 4. Work with controls on a form. After completing this lesson, you will be able to: Objectives continued
Objectives (Objectives continued from previous slide) 5. Add a calculated control to a form. 6. Modify format properties. 7. Use the Web to display data.
New Object drop-down menu Figure 6-1
Figure 6-2 AutoForm with fields displayed in a single column
Show Table dialog box in Query Design window Figure 6-3
Drop-down list displaying existing tables and queries Figure 6-4
AutoForm with fields in columns Figure 6-5
Selected fields to be included on the form Figure 6-6
Form Design View Figure 6-7
Opening the Form Header Figure 6-8
Form Header property sheet Figure 6-9
Adding a label to the Form Header Figure 6-10
Sizing the label box Figure 6-11
Changing the font color Figure 6-12
Moving a control Figure 6-13
Multiple selections of controls Figure 6-14
Selecting multiple controls in a column Figure 6-15
Text Box property sheet for ProductName Figure 6-16
Bound Object Frame property sheet Figure 6-17
Tab Order dialog box Figure 6-18
Adding a text box Figure 6-19
Control Source row Figure 6-20
Expression Builder with an expression Figure 6-21
Multiple-table query in Design View Figure 6-22
Labels positioned closer to text boxes and resized Figure 6-23
Selecting a row of controls Figure 6-24
AutoFormat dialog box Figure 6-25
AutoFormat options Figure 6-26
Exporting a form as a Web document Figure 6-27
Viewing the Web document in Word Figure 6-28
Data Access Page in Page View Figure 6-29