Download
1 / 24
240 likes | 415 Vues
Degraded Image. Michael Trivette. Original Photo. The original photograph was taken from my bike race in Banner Elk, NC in April 2006. Jeep/Sand Paper.

E N D
Degraded Image Michael Trivette
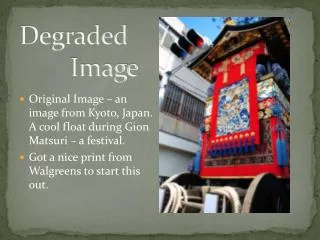
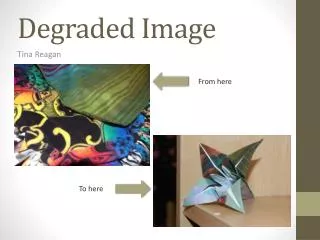
Original Photo • The original photograph was taken from my bike race in Banner Elk, NC in April 2006.
Jeep/Sand Paper • The next photo was taken after I put the picture through some abuse. I drove my Jeep over the picture to scratch the surface but I was disappointed in the result so I used sand paper to scratch the picture.
Hot Stove • The next form of punishment came from the hot stove in my kitchen. I turned the stove on high and once it was heated, I placed the picture on it for less than a second and the end result was a ring around the outer edge of the photo.
Bleach & Shout • In this next photo I used bleach and shout to weaken the image with the different chemicals in both liquids. I noticed that the texture of the photo was different and it would affect the image in the following processes.
BB Gun • In the next photo I took a BB-Gun and shot the picture repeatedly with the pellets. The result was multiple holes in the photograph.
Boiling Tea • The next image of the photo came after I placed the picture in a small pot of boiling tea. I only placed half of the picture in the pot and it dyed that portion a yellowish-brown color and it made the side very flimsy and weak.
Enamel • The next image was taken after I sprayed glossy enamel over the picture. The enamel had a black tone to it and it made the picture darker in certain areas where more of the enamel was applied.
Mineral Spirits • Another process that I used for the picture was pouring mineral spirits on the photo. The mineral spirits caused a majority of the photo to lose color and pieces of the image began to fall off after a few minutes.
Coffee Grounds • The next step was taking some used coffee grounds and smearing it on the picture. This changed the color of the picture was again and more of the image began to fall off.
Water Rinse • The last step was running some water over the picture to wash away anything left on the photo. The coffee grounds removed more of the image after being rinsed with water.