Effective Riparian Area Management: A Strategic Approach for Ranchers
210 likes | 316 Vues
This management plan, authored by Gene Surber and Bob Ehrhart, provides ranchers with a systematic framework for effective riparian area management. It emphasizes a step-by-step approach to goal setting, resource inventory, strategy implementation, and ongoing monitoring. Ranchers are guided to establish SMART goals, assess current conditions, and determine actionable steps to enhance riparian health. The plan also includes monitoring techniques, such as photo-monitoring, to track changes over time, ensuring effective management and sustainability of natural resources.

Effective Riparian Area Management: A Strategic Approach for Ranchers
E N D
Presentation Transcript
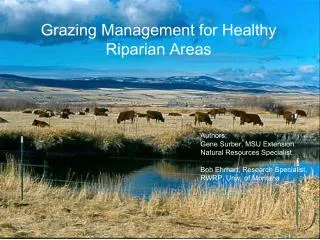
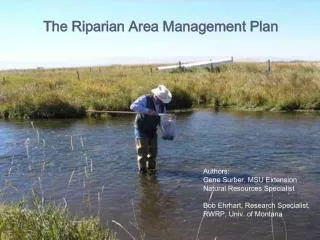
The Riparian Area Management Plan Authors: Gene Surber, MSU Extension Natural Resources Specialist Bob Ehrhart, Research Specialist, RWRP, Univ. of Montana
Introduction • Ranchers – “do-ers” • Planning – systematic way of thinking • Work smarter, not harder
Questions / Steps • Where do we want to be • Set goals • Where are we now? • Inventory resources • How are we going to get there? • Identify & implement strategies • How will we know we’re moving? • Monitor the resources for desired change
Step 1: set goals • Provide purpose and focus • Specific goals • Long-term & Short-term
Goals should be SMART • S – specific • M – measurable • A – attainable • R – related • T – tractable
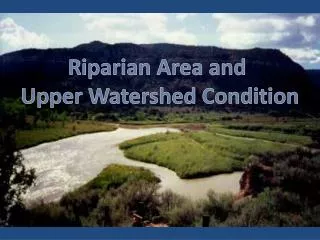
Step 2: Inventory resources • Where are you now? • Inventory • Conditions of riparian area • Resources you have / don’t have
Step 2: Inventory resources • Inventory (assessment) methods • One method = “Stream channel & riparian monitoring guide” • Basic method • Can be used with little training
Step 2: Inventory resources • Labor • Money • Expertise • Equipment • Time
Step 3: Decide & Implement • What – actions to take • Where – the actions will occur • When – the actions will happen • How – the actions will be done • What – the actions will achieve
Step 4: Monitor the impacts • Use the assessment guides for monitoring, as well • Photo-monitoring • Many assessments taken over time
Step 4: Monitor the impacts • Why? • Why are you monitoring? • What? • What are you monitoring?
Step 4: Monitor the impacts • Where? • How many sites? • 3 sites • Depends upon size of pasture • Depends upon different types of riparian areas • Accessibility • Time
Step 4: Monitor the impacts • When? • Time of year • Regular basis – trends over time • Same sites, same time each year
Photo-monitoring • Compares past with present • Record physical & biological changes • What am I trying to show? • How can I best “capture” it? • Is location appropriate now & in time?
Determining photo locations • Shrubs block your view in 5 to 10 years • Anticipate floods • Same site from different directions
Permanent locations • Use markers • GPS readings (or compass bearings)
Landscape view • Use “photo placard” • Date • Location • Time of day • Direction of shot • Vertical point • (notch in hill, rock outcropping)
Close-up view • 3 ft. x 3 ft. square • Stand on north side • Metal fence post or steel pole (100 ft away)
Recording information • Location on map • Compass bearing • Allotment and/or pasture name • Date, type of film, camera lens size • Information explaining each photograph
Storing the information • Notebook • Slides: non-pvc, non-acidic sheets • CD or DVD of digital photos
Limitations – photo monitoring • Quantifiable data may be missed • Small notebook • PDA or Palm Pilot • Micro-cassette