Download
1 / 5
50 likes | 302 Vues
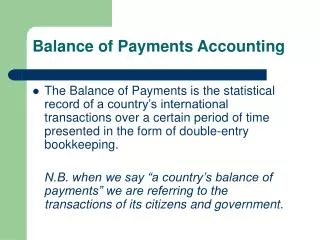
T&A Data This function permits you to access your T&A record for the current pay period to record time. T&A Summary Allows you to review time on the current T&A record. Leave/Prem Pay Allows you to request leave time, premium pay, or make donations to leave programs. Certified T&As

E N D
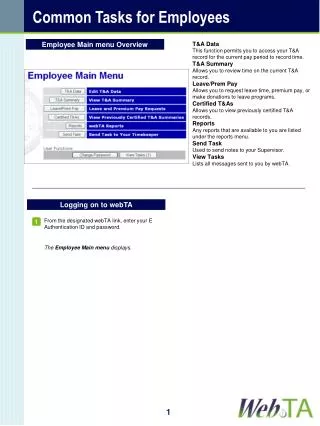
T&A Data This function permits you to access your T&A record for the current pay period to record time. T&A Summary Allows you to review time on the current T&A record. Leave/Prem Pay Allows you to request leave time, premium pay, or make donations to leave programs. Certified T&As Allows you to view previously certified T&A records. Reports Any reports that are available to you are listed under the reports menu. Send Task Used to send notes to your Supervisor. View Tasks Lists all messages sent to you by webTA. Employee Main menu Overview Logging on to webTA From the designated webTA link, enter your E Authentication ID and password. 1 The Employee Main menu displays. 1
Accessing the T&A Data Page Adding a New Transaction Code From the Employee Main menu, click the T&A Data button. 1 From the Employee Main menu, click the T&A Data button. 1 Click the New button in the appropriate table in the T&A Data page. 2 The New Work Time Activity page displays. The T&A Data page displays. Click the Transaction Code drop-down arrow and select the appropriate transaction code. 3 4 Click the Account field drop-down arrow and select the appropriate account. 5 Click the Save button. 2
Entering Leave Hours Using Positive Entry Entering Hours Using Positive Entry From the Employee Main menu, click the T&A Data button. 1 Type the number of hours worked on the appropriate dates in the Work Time grid. From the Employee Main menu, click the T&A Data button. 2 1 Type the number of hours for leave on the appropriate dates in the Leave and Other Time grid. 2 Click the Save/Return button. 3 The Employee Main menu displays Note: If the appropriate type of leave time doesn’t display, click the New button in the Leave and Other Time grid and select the appropriate transaction code and account. Note: Time should be recorded on the date it was worked. Click the Save/Return button. 3 The Employee Main menu displays Note: Leave time should be recorded as quickly as possible after it was taken. 3
Editing Hours Using Exception Entry Validating T&A Data From the Employee Main menu, click the T&A Data button. From the Employee Main menu, click the T&A Data button. 1 1 Review the time located in the T&A Datapage and click the Validate button. 2 Click the New button in the appropriate table in the T&A Data page. 2 The New Work Time Activity page displays. Click the Transaction Code drop-down arrow and select the appropriate transaction code. 3 If there are errors in your T&A record, the Validation Summary will display. 2 4 Click the Account field drop-down arrow and select the appropriate account. 5 Click the Save button. Note: All Warnings that display must be corrected before a T&A record can be validated. 5 Type the number of hours worked on the appropriate dates in the Work Time grid. If errors display, click the Continue button. The T&A Data page will display. Correct all errors and repeat the validation process. 3 Click the Save/Return button. 6 A message displays confirming the validation. The Employee Main menu displays Note: Time should be recorded on the date it was worked. 4
Making a Leave Request Using the calendar, enter the amount of hours requested in the Hr: field and the start and end time for the hours in the Fr: and To: fields. 5 From the Employee Main menu, click the Leave/Prem Pay button. 1 Note: If sick time is used, the Sick Leave section of the page must be completed. If this time is requested under the Family and Medical Leave Act, the Family and Medical Leave Act section must be completed. Click the Save button. 5 Click the Leave button on the Leave/Prem Requests & Donations page. 2 The Current Leave Requests page displays with the leave request showing as pending. Logging Out of webTA Click the Logout link in the upper-right corner of any page. 1 Click the New Request button on the Current Leave Requests page. 3 Click the ‘X’ in the upper-right corner to close the window. 2 Select the appropriate Leave Type and Transaction Type from the Edit/View Leave Request page. 4 5