Mastering Night Photography: Essential Techniques for Stunning Shots
120 likes | 232 Vues
Discover the fundamentals of night photography with this comprehensive guide. Learn about the significance of fast and long shutter speeds, how to effectively use ISO settings to reduce noise, and the importance of white balance when capturing warm street lights. Explore how different aperture settings can affect exposure and the appearance of light sources. Uncover composition techniques that utilize lines and diagonal patterns to create visually striking images. With practical tips on exposure adjustments, you'll be equipped to take stunning night photos.

Mastering Night Photography: Essential Techniques for Stunning Shots
E N D
Presentation Transcript
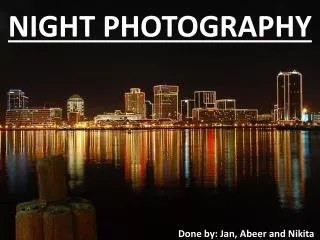
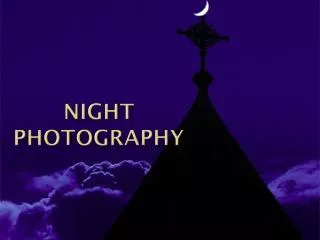
Night Photography The Basics
Main Options • Fast shutter speeds + flash • Long shutter speeds + tripods
Long Shutters…. • Low ISO – less noise + longer exposure • 30 second exposures • Captures movement • Moving lights create “lines” • Moving “dark” objects disappear • Stationary objects look “normal”
ISO • Noise at high ISO – not great at night • Use ISO 100/200 • Shutter at ISO 200 is ½ that at ISO 100
White Balance • Street lights are “warm” • Use “Tungsten” or “Incandescent” • Makes things look “normal” and “cool” • Experiment with other settings
Wide Apertures • Wider apertures give shorter exposures • More chance of seeing “dark” objects • Lights appear “fatter” • Points of light are “blobs” • Possible able to “hand hold”
Small Apertures • Long exposures • Dark objects do not appear • Moving lights look “finer” and “thin” • Points of light turn into “Stars” • Need a tripod
Composition • All about lines • Use road markings and moving cars • Think in Diagonal Lines • Diagonal coming out of corners is strong
Technique…. • Get an exposure that works – meter or trial/error • Light at night stays constant • Camera on tripod • Compose a shot • Wait for a car to come and hit the shutter • Review the shot and learn
Technique - Exposure • Initial setup • Select “M” manual • Set your shutter speed to 15 seconds • ISO 100 • F11 • Take a photo of the scene
Technique – Exposure 2 • Is the shot too bright? • Change aperture to F16 – try again • Is it too dark? • Change aperture to F8 or shutter speed • Change shutter speed to 30 seconds • Change ISO to 200/400
Exposure • Try different exposure • Try different apertures, and see what happens