Download
1 / 14
160 likes | 246 Vues
Learn the steps and considerations for safe central line removal, including equipment needed, special considerations, and expected outcomes. Ensure patient safety and minimize risks during the procedure.

E N D
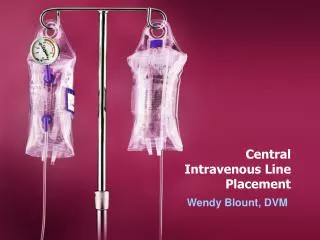
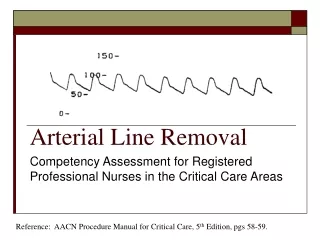
Central Line Removal Competency Assessment for Registered Professional Nurses in the Critical Care Areas References: AACN Procedure Manual for Critical Care, 5th Edition, pgs 498-501. Critical Care Nursing, A Holistic Approach; 9th ed; 2009, pages 301-303.
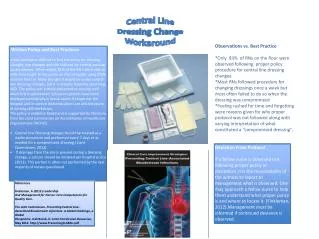
General Considerations • CVCs are removed when therapy is completed, a mechanical malfunction has occurred, the catheter has become occluded or mal-positioned, or the patient has developed a central line associated blood stream infection (CLABSI). • The nurse must validate that the catheter has been removed intact. • Air embolism can occur during the removal of the catheter. The pathologic effects depend on the volume and rate of air aspirated. • Coagulation status and vital signs should be assessed prior to catheter removal. • MD order required for catheter removal. MD to culture catheter tip if required.
Expected Outcomes • The catheter is removed intact. • Hemostasis is achieved at the catheter site.
Equipment • Procedure and sterile gloves • Face mask with fluid shield • Protective gown • Suture removal kit • Sterile 4X4 gauze pads • Betadine ointment • Occlusive central venous dressing • Sterile cup (if needed for specimen collection)
Steps 1. Wash hands 2. Open suture removal kit 3. Turn off infusion 4. Don PPE Rationale Special considerations: If catheter tip to be cultured, follow procedure SP-I-8.0 “Collection of IV Catheter for Culture”. MD to culture. Note: There is poor evidence to support a recommendation for or against use of this practice. Procedure
Steps 5. Place patient in slight Trendelenburg position and turn head away from catheter. Rationale Decreases the risk for air entry and reduces the transmission of microorganisms. Special considerations: Place the patient flat if Trendelenberg is contraindicated or not tolerated. Procedure
Steps 6. Remove the dressing, wash hands, and don sterile gloves. 7. Carefully cut the sutures; ensure that the entire suture is removed. Rationale: Reduces the transmission of microorganisms. Procedure
Steps 8. Instruct the patient to take a deep breath and hold it (if removing IJ or subclavian catheters). Rationale 8. Minimizes air being accidently drawn into the systemic venous circulation Special Considerations If mechanically ventilated, withdraw the catheter during the inspiratory phase of the respiratory cycle. Procedure
Steps 9. Remove the catheter Grasp the catheter and withdraw in one continuous motion. Quickly apply a drop of betadine ointment over the puncture site and cover immediately with a sterile 4X4 gauze. Rationale Withdrawing the catheter with a continuous motion decreases trauma to the vein. The distal end of the catheter should be removed quickly because the proximal and medial openings could permit the entry of air. Application of ointment and gauze prevent air entry into the puncture site. Procedure
Steps: 10. Maintain pressure for a minimum of 5 minutes or until hemostasis is achieved. Recheck site after 15 minutes, 30 minutes, 60 minutes, and 120 minutes. Rationale: Prevents bleeding and hematoma formation. Special considerations: Longer periods of direct pressure may be needed to achieve hemostasis in patients receiving systemic heparin or thrombolytics or those who have acoagulopathy. Procedure
Steps 11. Apply an occlusive, sterile dressing over the site. 12. Inspect the catheter after it is removed. 13. Reposition the patient. 14. Discard supplies in appropriate waste containers, wash hands. Rationale Minimizes the risk for air entry and infection at the site and ensures that the entire catheter has been removed. Procedure
Documentation • Patient and/or family education • Date and time of catheter removal • Site assessment • Inspection of catheter • Application of occlusive dressing • Patient tolerance of procedure • Unexpected outcomes and interventions
Signs and symptoms Confusion Lightheadedness Anxiety Unresponsiveness Interventions Call MD Turn patient on left side in Trendelenburg position Administer oxygen Management of Suspected Air Embolus
Please return to the class page, Click on the link to the quiz.