Mastering HDR Digital Photography: A Comprehensive Guide
180 likes | 307 Vues
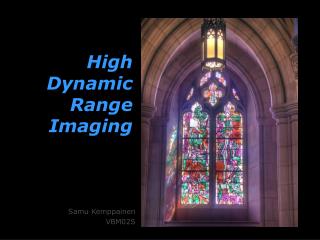
Dive into the world of High Dynamic Range (HDR) photography with this complete guide. Learn how HDR effectively captures the full range of exposure values, revealing details in both shadows and highlights. Follow essential steps for HDR shooting, including taking multiple exposures and employing tone mapping techniques to enhance image quality. Discover tips for camera setup, including manual focus and exposure bracketing, along with an overview of popular HDR software. Create stunning images that reflect the scene as you saw it, filled with vibrant colors and intricate detail.

Mastering HDR Digital Photography: A Comprehensive Guide
E N D
Presentation Transcript
High Dynamic Range (HDR) Digital Photography Jim Reynolds Feb 22, 2010
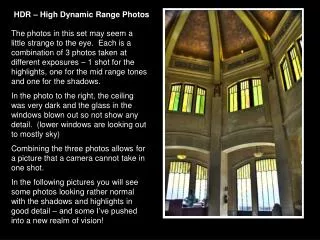
About HDR Effects • Renders the scene as the photographer saw it • Captures large range of exposure values (Ev) • Captures highlight detail in underexposed images • Captures shadow detail in overexposed images • Controls noise in shadows • Final images have wonderful color & infinite detail
General HDR Process Steps • Take 3 – 7 exposures at different Ev • Load exposures into HDR Program (file conversion may be necessary) • Run HDR creation step (Generates 32 bit image) • Run Tone Mapping step (Reduces image to 16 bit) • Post process image for tones, saturation, etc
Camera Set Up • Camera on sturdy tripod with cable release • Set camera program to Aperture Priority • Turn off automatic settings such has White Balance, Autofocus, flash and ISO • Set ISO to low value to reduce noise • Use Manual focus • Continuous shooting mode • Raw 12 bit files
HDR Shooting • Compose and shoot one image as normal • Then shoot 1 image at – 2 Ev • Then shoot 1 image at + 2 Ev • Or if available, use camera’s Automatic Exposure Bracketing (AEB) to shoot 3 rapid exposures (Canon) • On certain Nikon models, shoot 5 – 7 AEB exposures at 1 EV increments each
Credits • Complete Guide to HIGH DYNAMIC RANGE Digital Photography by Ferrell McCollough