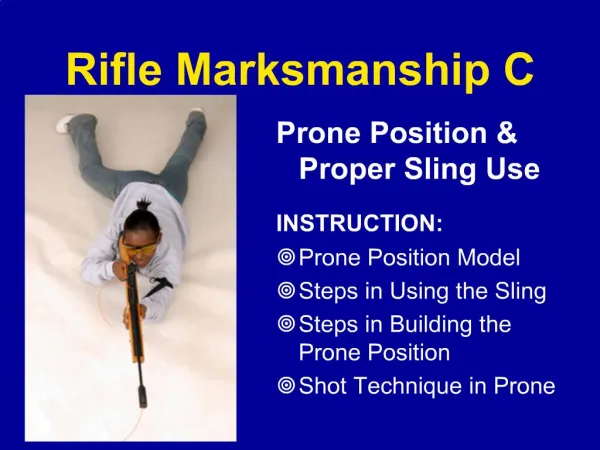
Rifle Marksmanship D
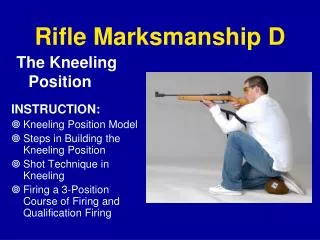
The Kneeling Position. INSTRUCTION: Kneeling Position Model Steps in Building the Kneeling Position Shot Technique in Kneeling Firing a 3-Position Course of Firing and Qualification Firing. Rifle Marksmanship D. The Kneeling Positions used by two World Champions. Barbara Engleder, Germany.

Rifle Marksmanship D
E N D
Presentation Transcript
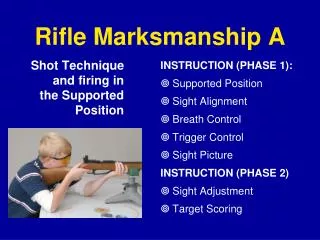
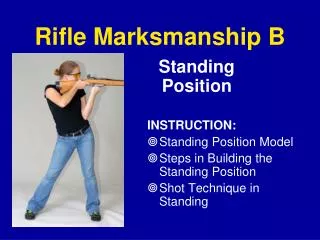
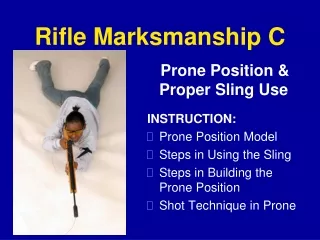
The Kneeling Position INSTRUCTION: Kneeling Position Model Steps in Building the Kneeling Position Shot Technique in Kneeling Firing a 3-Position Course of Firing and Qualification Firing Rifle Marksmanship D
The Kneeling Positions used by two World Champions Barbara Engleder, Germany Peter Sidi, Hungary
KNEELING Step 1: Build the Position Foundation Place kneeling roll on firing point, turn 40-60 degrees from the line of fire Kneel over the roll, rest ankle on roll, keep right foot vertical Sit on right heel, keep weight back on heel Locate left foot so lower leg is vertical
KNEELING Steps 2 and 3 Left Elbow Location Step 2: Put the sling on and attach it to the rifle Step 3: Shoulder the rifle and place the left elbow on the left knee or just behind the knee
KNEELING, Step 4 Locate the butt-plate high enough in the shoulder to establish a good head position KNEELING, Step 5 Adjust the rifle height by moving the left hand forward or rearward on the fore-end until the sights are aligned at target level
KNEELING, Step 6 Loosen the hand stop and move it back to the fork of the left hand--tighten Tighten the sling until it takes over the work of hold up the rifle
KNEELING Step 7 Rotate the position to align the sights with your target Pivot over the kneeling roll while moving the left foot and right knee
Shot Technique in Kneeling Approach bull’s-eye from same direction, Exhale & stop breathing, take up trigger slack Center the front sight movement over the bull’s-eye Squeeze the trigger while the front sight movement is centered
Balance point Kneeling Position: The final step in establishing a good position is to practice live and dry firing in the new position Balance point To have a stable kneeling position: a. Keep your body weight back on your right heel b. Keep your right foot and left lower leg vertical c. Balance your position over the left and right heels
3-Position Shooting • Practice Kneeling until your are comfortable with the position • Then you are ready for three-position shooting • Standard 3-Position Course of Fire (3x10): • Sighters + 10 shots for record prone • Sighters + 10 shots for record standing • Sighters + 10 shots for record kneeling • 3x10 is the standard event for Expert qualification and annual JROTC Postal Competitions • Sighters: Practice or zeroing shots before record shots
Qualification Awards • JROTC Qualification Badges: Marksman, Sharpshooter, Expert • Marksmanship Ribbons • Awarded according to regulations • Goal: To demonstrate your marksmanship skill by qualifying New JROTC Air Rifle Marksmanship Qualification Badges—may be worn on uniforms
Qualification Firing • Use BMC or AR targets • Use sporter rifles, no special clothing • Marksman & Sharpshooter: Count best 10-shot scores in standing and prone • Expert: Count best 3-position (3x10) total • Check regulations for details