Make up Design
Make up Design. Technical Theatre. Why do we use Stage Makeup?. To identify a character To make someone older on stage To make the facial features visible To create a character (an animal, a hunchback, the phantom of the opera). Foundation Clown white Face powder Rouge Liners Lipstick

Make up Design
E N D
Presentation Transcript
Make up Design Technical Theatre
Why do we use Stage Makeup? • To identify a character • To make someone older on stage • To make the facial features visible • To create a character (an animal, a hunchback, the phantom of the opera)
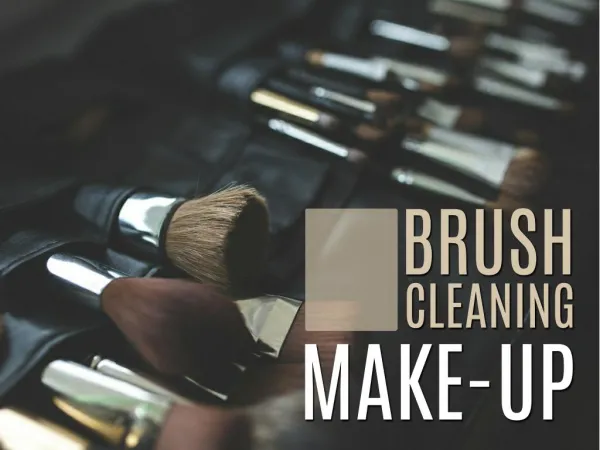
Foundation Clown white Face powder Rouge Liners Lipstick Liquid body makeup Putty Makeup pencils Mascara Makeup remover Brushes Powder puff Spirit gum Hair color Face wipes, hair pins, etc. What do you need in a Makeup Kit?
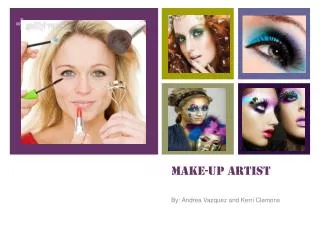
Who applies the Makeup? • Most actors are trained to do their own makeup • However, extreme designs will require a makeup artist
Makeup Crew • Applies the makeup • Make sure all the actors have the right amount of makeup (not too much or too little) • Assists actors in the dressing room • Good practice to become a makeup designer
Basic Application: Step 1 • Foundation: need correct color, may have to blend two colors to make it look natural • Two types: crème and cake (crème blends better) • Crème: can be applied with fingers or sponge; blend it into neck line • Cake: (motion picture), applied with damp sponge or brush
Basic Application: Step 2 • Highlighting and Shadowing (chiaroscuro) • Brings out, corrects, or changes features • Shadow: five shades darker or brown or reddish-brown, or maroon • Highlight: five shades lighter, yellow or white
Basic Application: Step 3 • Rouge • Oval face: apply in a cresent shape to the cheekbone and blend up and out • Round face: blend along cheekbone and downward closer to the nose • Long face: place high on cheekbone and blend out toward the temples
Lipstick • Female: match to hair, foundation, and costume • Male: brown or reddish-brown lining color • You can change the shape of the lip by blocking out the outer edges with foundation and outlining the new shape with a lip pencil
Basic Application: Step 4 • Eyes and Eyebrows • Eye Shadow is used to beautify the eye, make it larger, and indicate character • Apply to upper lids only • Eye liner: will accent the eye and make it larger • Eye brows should frame the eye and not attract attention
Basic Application: Step 5 • Powdering • Use translucent or one tone lighter • Sets the Makeup, prevents it from running • Softens the lines • Powder should be pressed into the makeup gently or patted on • Do not rub or smear
Basic Application: Step 6 • Finishing Touches • You may want to touch some areas • Restore color that the powder dulled • Apply mascara or false eyelashes • Mascara: Brown, unless you have dark brunette hair
Examples • Page 62 • How Does the Show Go On? By Thomas Schumacher
How will the process work? • First, you will create a design by tracing the faces and adding your own detail and color • Second, you will write a paragraph describing your design and your rationale • Third, you will come into class and apply the design to your face • Fourth, the instructor will take a picture of your design • Fifth, Clean up!
Make up Morgue A morgue is a reference file that designers use to develop their designs. For this assignment you will need: 1) 3 ring binder 2) Dividers 3) A variety of pictures from each category The morgue should begin with a typed title page and table of contents. Then each category should be divided and labeled, so that it is easy to find. You may change the order of the categories as long as it corresponds to the table of contents. The Morgue should be well-organized and neat. For each category below you will need to find 3-5 pictures. At the end of our unit all of your own designs will be added to the Morgue.
Fantasy and Glamour Clown Animal Ethnic and Tribal Chinese Opera Hero/Ingénue God/Demon Characters Celebrities People/Faces Women Men Old Age Cuts and Bruises Facial Hair Morgue Categories
Resources • The Stage and The School, 7th edition by Harry H. Schanker and Katharine Anne Ommanney • How Does the Show Go On? By Thomas Schumacher