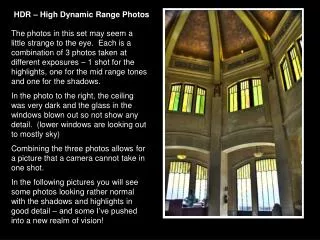
High Dynamic Range (HDR) Photography
120 likes | 252 Vues
High Dynamic Range (HDR) Photography. Camera vs Eye. Eye sees a wider range of color luminance than digital cameras HDR’s images compensate for this by combining three or more digital images Normal exposure, overexposed and underexposed, easy to do with midrange or better Canon cameras

High Dynamic Range (HDR) Photography
E N D
Presentation Transcript
Camera vs Eye • Eye sees a wider range of color luminance than digital cameras • HDR’s images compensate for this by combining three or more digital images • Normal exposure, overexposed and underexposed, easy to do with midrange or better Canon cameras • More than three images can be used, Nikon gear can do 5 or 7 easily
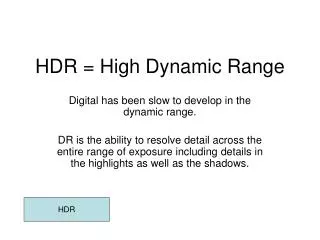
Why three images? • Normal exposure for camera’s best • Over exposed gets stuff in shadows • Underexpose gets stuff that is blown out • Consider case of room with window looking out on bright scene
Process in Photomatix or Photoshop • Reduce HDR images colors to useable range of color values • Raw HDR images look funny on computer screen
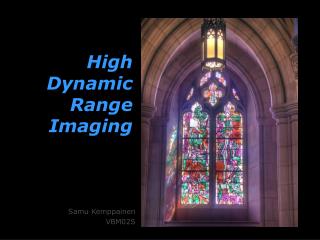
When to Use HDR • Scenic images • Cityscapes, night and day • Difficult lighting • Your are not moving • Subject not moving mostly
HDR Process • Take photos • Create HDR in photomatix or photoshop • Import into photoshop and maybe remix with original RAW images
Photos • Use tripod • Aperture priority mode, f stop to get important stuff in focus f/11 to f/22? • ISO 100 to reduce noise in process • Turn on auto-bracketing -2,0,+2 stops • Continuous shooting is nice and remote trigger • Shoot RAW images
Create HDR • Generate single HDR from auto-bracketed images • In photomatix choose Generate HDR Image • Browse to select 3 bracketed images • Choose the option Align Source • Click Generate Tone Mapping
Tone Mapping • HDR needs tone mapping to display colors on monitor. Way too many colors at first. • Every photo is different but as a start try: • Strength 100% • Color saturation reasonable • Luminosity, less contrast to right • Microcontrast I like a lot but play around • Smoothing “HDRness” of shot, middle 3 mostly
Tone Mapping Continues • White and Black Point, Gamma adjust to get histogram inside box • Click Process • Save when processed
Photoshop HDR • Open tonemapped jpg • Process like any other image • Levels • Vibrance • Noise • Sharpen • And so forth
Odds and Ends • www.hdrsoft.com is photomatix site • 15% off with stuckincustoms • Can HDR a single image, just open file in photomatix and generate HDR