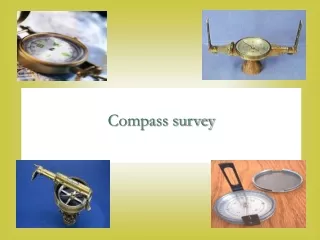
Compass Survey
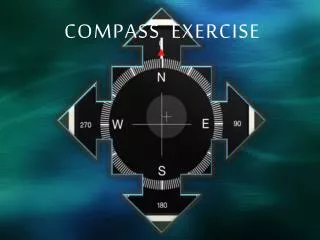
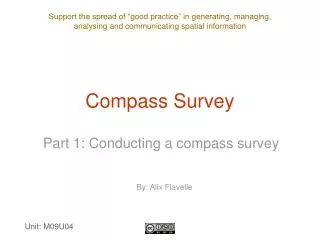
Compass Survey. Part 1: Conducting a compass survey. By: Alix Flavelle. Unit: M09U04. Uses of a compass survey (or traverse). Map very small areas Map in a lot of detail Learn basic principles of scale mapping. Measure direction and distance. Direction is measured by: compass.

Compass Survey
E N D
Presentation Transcript
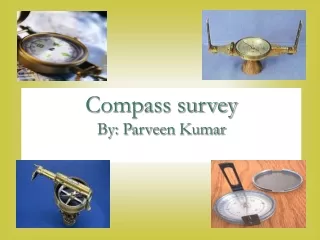
Compass Survey Part 1: Conducting a compass survey By: Alix Flavelle Unit: M09U04
Uses of a compass survey (or traverse) • Map very small areas • Map in a lot of detail • Learn basic principles of scale mapping
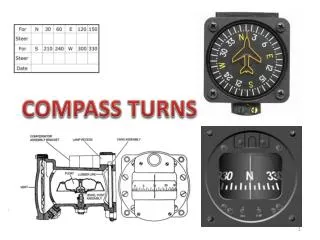
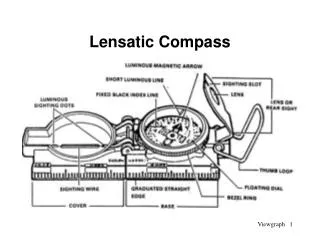
Measure direction and distance • Direction is measured by: • compass. • Ground distance is measured by: • metre tape; • surveyor’s “chain”; • rangefinder.
Slope distance to horizontal distance • Slope distance on the ground must be “flattened” to horizontal distance. • Measure slope angle with: - clinometer; - slope needle on compass; - handmade clinometer. • Calculate horizontal distance.
Calculating horizontal distance Use the equation: Horizontal distance = slope distance x cosine of slope
Planning the traverse route • Select a starting point. • Plan the route with a sketch map. • Choose from four traverse patterns: • linear traverse; • radial traverse; • grid traverse; • closed traverse.
Linear traverse • Follows a line such as a road or stream
Radial traverse • Several linear traverses starting at one point • Useful when trails radiate from a village centre
Grid traverse • Parallel linear traverses forming a grid • Allows systematic mapping of an area • Often used for resource inventories
Closed traverse • Follows the perimeter of an area or territory • Allows for the calculation of area
Conducting a compass traverse • Need minimum of two people • Start at the Point of Commencement (POC) • Measure distance and bearings from each station to the next
Organising the team • “The leader” goes ahead. • “The scout” scouts ahead of the leader. • “The compass person” takes bearings. • “The recorder” records data. • “The note taker” takes extra notes and draws sketches.
Recording the traverse • Sketch in features • Side shots • Intersection technique
What to record • Determined after discussion with the community • Examples: • historical places • sacred sites • local place names • land use • forest products • hunting areas • natural landmarks • fishing areas • land ownership
Compass Survey Part 2: Plotting the compass survey
Steps to plot the survey • Determine an appropriate map scale. • Prepare graph paper. • Convert slope distances to horizontal distance. • Convert horizontal ground distance to map distance. • Plot bearings and distances. • Calculate error or a closed traverse.
Determine an appropriate map scale scale = length of traverse (cm) length of paper (cm)
2. Prepare the graph paper • Cut to a desired size.
3. Convert slope distance to horizontal distance Horizontal distance = slope distance x cosine of slope
4. Convert horizontal ground distance to map distance map distance = ground distance (cm) scale
5. Plot the bearings and distances on graph paper using a protractor and ruler • Locate the POC • Place protractor and mark the bearing: • place ruler and measure the distance • mark the station with a small triangle and write in the station number • move the protractor to station #1 and continue
Calculating error • Measure the gap between the starting point and the end of the last line. • Add all the distances in the notes to find the perimeter of the traverse. • Calculate percent error using this equation: Percent error = gap (cm) perimeter (cm)