Download
1 / 10
100 likes | 224 Vues
Discover the power of masks and masked layers in animation with this step-by-step tutorial. Masks serve as windows, revealing what's underneath through defined shapes or graphics, allowing for dynamic animation effects. This guide covers how to create content layers, add a mask layer, and define the masked layers to achieve stunning visuals. Learn how to easily revert layers back to normal when needed and explore the potential of combining static masks with animation techniques. Enhance your animation skills with these essential masking techniques!

E N D
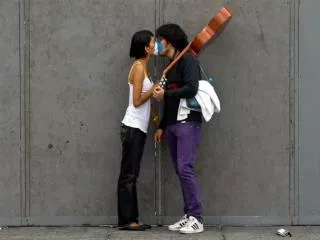
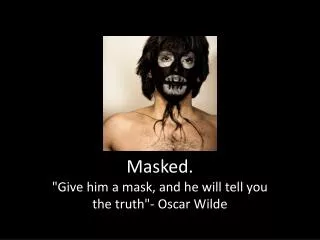
Masks are layers that will allow you to see what is underneath through a sort of hole (i.e. a drawing).
You then can animate this hole with a motion tween for example. Masked layers are the layers underneath.
In the following picture, a mask lets you see part of bookshelf through an oval.A mask with an oval
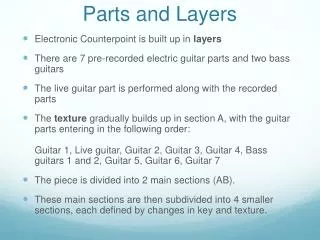
Step 1 - Create some contents: • Put these contents in one or several layers. We will turn these layers "masked" in step 3.
Step 2 - Add a mask layer: • On top of these layers, create a new layer,Right-click on the layer name and select Mask.
This layer will mask the others and it should contain a single graphic element (shape, graphic symbol or group).
Step 3 - Define the masked layers: • The layer just beneath the Mask layer already should be masked. If it is not, right-click on the layer name and select Masked.
You can turn other layers underneath to be masked with the same procedure. Move normal layers to a position after the mask layer or an already masked layer or create new ones...
To undo a masked layer, just right-click and revert back it to "normal". We show a picture of mask and masked layers further down. Such static masks are of course not very interesting, so let's move on ...