Inserting Clip Art into a Content Placeholder
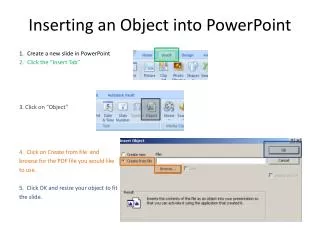
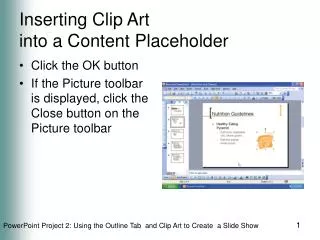
Inserting Clip Art into a Content Placeholder. Click the OK button If the Picture toolbar is displayed, click the Close button on the Picture toolbar. Changing the Slide Layout to Title, 2 Content and Text and Insert Clip Art.

Inserting Clip Art into a Content Placeholder
E N D
Presentation Transcript
Inserting Clip Art into a Content Placeholder • Click the OK button • If the Picture toolbar is displayed, click the Close button on the Picture toolbar
Changing the Slide Layout to Title, 2 Content and Text and Insert Clip Art • Click the Next Slide button on the vertical scroll bar to display Slide 3 • Click Format on the menu bar and then click Slide Layout • Scroll to display the Title, 2 Content and Text slide layout located in the Text and Content Layouts area of the Slide Layout task pane • Click the Title, 2 Content and Text slide layout and then click the Close button in the Slide Layout task pane
Changing the Slide Layout to Title, 2 Content and Text and Insert Clip Art • Click the Insert Clip Art button in the top content placeholder. Type woman in the Search text text box and then click the Go button • If necessary, scroll down the list to display the desired clip of a woman walking and then click the clip to select it. Click the OK button
Changing the Slide Layout to Title, 2 Content and Text and Insert Clip Art
Inserting a Second Clip into a Slide • Click the Insert Clip Art button in the bottom content placeholder • Type flowers in the Search text text box and then click the Go button • If necessary, scroll down the list to display the desired clip of yellow roses, click the clip to select it, and then click the OK button
Inserting Clip Art into a Slide without a Content Placeholder • Click the Next Slide button on the vertical scroll bar to display Slide 4 • Click Tools on the menu bar and then click AutoCorrect Options • When the AutoCorrect dialog box displays, if necessary, click the AutoFormat As You Type tab • Click Automatic layout for inserted objects in the Apply as you work area if a check mark does not display • Click the Insert Clip Art button on the Drawing toolbar
Inserting Clip Art into a Slide without a Content Placeholder • If the Add Clips to Organizer dialog box displays asking if you want to catalog media files, click Don’t show this message again, or, if you want to catalog later, click the Later button • Click the Search for text box • Type house and then press the ENTER key • If necessary, scroll to display the desired clip of a house located beside a lake • Point to this image
Inserting Clip Art into a Slide without a Content Placeholder • Click the desired clip • Click the Close button on the Clip Art task pane title bar
Using the Automatic Layout Options Button to Undo a Layout Change • If your slide layout automatically changed to Title, Text, and Content, click the Automatic Layout Options button • Point to Undo Automatic Layout • Click Undo Automatic Layout
Moving Clip Art • With the clip selected, point to the clip and then press and hold down the mouse button • Drag the clip to the upper-right corner of the slide • Release the mouse button
Changing the Size of Clip Art • Click the Previous Slide button on the vertical scroll bar two times to display Slide 2 • Right-click the clip • Point to Format Picture on the shortcut menu • Click Format Picture • Click the Size tab when the Format Picture dialog box is displayed
Changing the Size of Clip Art • Click and hold down the mouse button on the Height box up arrow in the Scale area until 135% is displayed • Click the OK button • Drag the clip to the right of the bulleted list
Inserting, Moving, and Sizing a Clip into a Slide • Click the Next Slide button on the vertical scroll bar three times to display Slide 5 • Click the Insert Clip Art button on the Drawing toolbar. Delete the word, house, in the Search for text box, type stethoscope, and then press the ENTER key. Click the desired stethoscope or another appropriate clip. Click the Close button on the Clip Art task pane title bar • If the layout changes, click the Automatic Layout Options button and then click Undo Automatic Layout
Inserting, Moving, and Sizing a Clip into a Slide • Right-click the stethoscope and then click Format Picture on the shortcut menu. Click the Size tab in the Format Picture dialog box, click and hold down the mouse button on the Height box up arrow in the Scale area until 160% is displayed, and then click the OK button • Drag the stethoscope to the lower-right corner of the slide • Click the Save button on the Standard toolbar to save the presentation