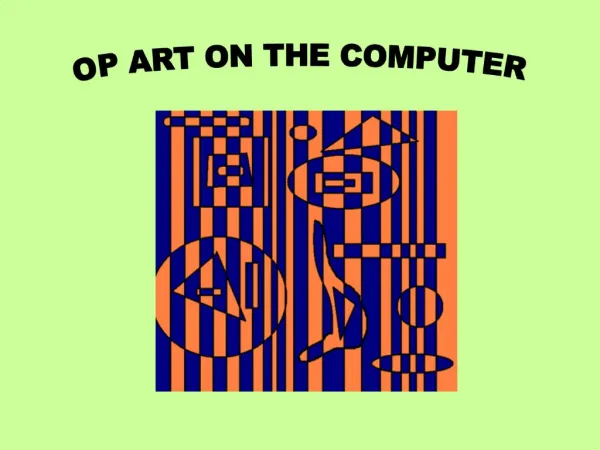
Create Mesmerizing Spiral Patterns Using Squares and Dots
Discover the magic of drawing intricate spiral patterns using just squares and straight lines! This step-by-step guide takes you through a simple process of drawing squares, placing dots, and connecting them to create mesmerizing designs. By moving in a clockwise or counter-clockwise rotation, you’ll unlock endless creative possibilities. Whether you’re a beginner or an experienced artist, explore various shapes and sizes to enhance your artwork. Embrace the fun of geometric art and watch your designs come alive with movement and elegance!


Create Mesmerizing Spiral Patterns Using Squares and Dots
E N D
Presentation Transcript
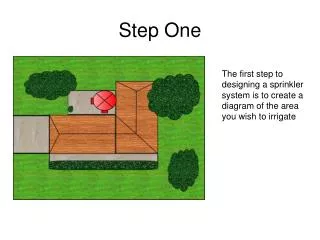
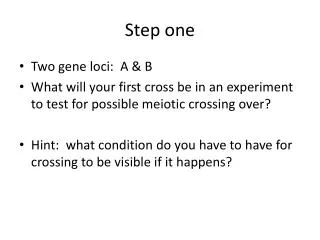
Step One Draw a square on your paper
Step Two Beginning in the top left corner of the square, measure to the right about a half inch and place a dot. Go to the top right corner, move down a half inch, and place another dot. Continuing to move in a clockwise rotation, place the last two dots in their respective corners. Your drawing should now look like the one above.
Step Three Connect the dots. This will form a slightly smaller square inside the original square. The new square will also be turned slightly clockwise.
Step Four Just like we did with the original square, and moving in the same clockwise direction, place four more dots on the new, inner square. These dots should also be spaced the same distance apart. This is crucial.
Step Five Once again, connect the dots. You should now have a total of three squares – one original and two inner squares progressively getting smaller and continuing to turn clockwise.
Step Six By now, you’re probably noticing a pattern forming. Continue placing dots, the same distance apart and moving in the same direction, and continue connecting these dots until your design looks like the one above.
Notice that there are curved lines that are now forming. Notice how your design appears to spiral backwards (or forwards). You have accomplished this by only using straight lines and drawing perfect squares. You have not once drawn a single curved line. What you have just accomplished, young grasshopper, is magic. Give yourself a pat on the back.
Step Seven Now I want you to draw a second square that is attached to the first square. Moving in the same clockwise rotation, fill in the new square. When you are finished, your two squares should look like the design above.
Now notice the entirely new shapes that you are creating. This one looks like some crazy, twisting spiral, but it is nothing more than straight lines. You’ve just learned another magic trick. Keep this up, young grasshopper, and you’ll soon be expected to pull a rabbit out of your hat.
Step Eight Now I want you to draw a third square. Only this time, instead of moving in a clockwise rotation, I want you to move in a counter-clockwise rotation. Doing this will create more new and exciting shapes and curves out of nothing more than straight lines and squares. Isn’t this incredible?!?! Are you totally psyched?!?! You should be totally psyched!!! I’m totally psyched!!!
…and that’s it! • If you continue to add more squares, your design will continue to spin and move. • Try changing up the size of your squares. • Try adding some triangles and pentagons and hexagons and all other sorts of ‘gons. • Isn’t art fun?