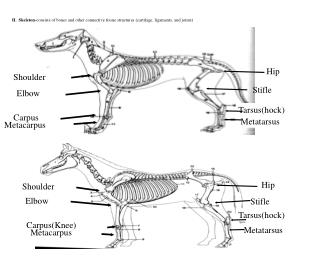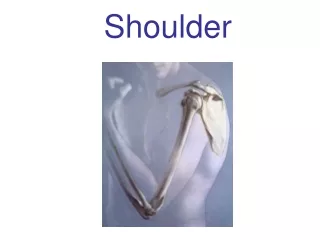
Shoulder Wrap
Shoulder Wrap. Begin with the person to be wrapped in the ‘teapot’ position Use a 4” double length elastic wrap. Shoulder Wrap. Begin the wrap around the upper arm Pull the wrap toward the anterior midline. Shoulder Wrap. Go around the upper arm 2-3 times

Shoulder Wrap
E N D
Presentation Transcript
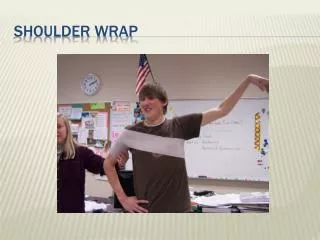
Begin with the person to be wrapped in the ‘teapot’ position Use a 4” double length elastic wrap Shoulder Wrap
Begin the wrap around the upper arm Pull the wrap toward the anterior midline Shoulder Wrap
Go around the upper arm 2-3 times Begin the pull the wrap across the chest Shoulder Wrap
Circle the chest once Circle the arm again Shoulder Wrap
Pull the wrap around the arm once Head the wrap back around the front of the chest Shoulder Wrap
Pull the wrap around the chest for the second time Shoulder Wrap
Finish off the arm by using the excess wrap around the upper arm Secure the wrap with tape or clips Note the X’s on the lateral upper edge of the wrap Shoulder Wrap
Check for tightness + capillary bed refill + red, white, or blue fingers + numbness or tingling Shoulder Wrap