Download

1 / 11
110 likes | 366 Vues
Titration Curves of Strong and Weak Acids and Bases. Maureen C. Miller Chatham Hall AP Chemistry Grades 11, 12. To react the following combinations of acids and bases. Goal of the Lesson. To compare empirical equivalence points and pH on graph to calculated values from pre-lab.

E N D
Titration Curves of Strong and Weak Acids and Bases Maureen C. Miller Chatham Hall AP Chemistry Grades 11, 12
To react the following combinations of acids and bases Goal of the Lesson • To compare empirical equivalence points and pH on graph to calculated values from pre-lab. • To become more familiar with titration curves by observing differences in initial pH and length of the vertical region of the curve near the eq.pt. • To determine the most suitable indicator for each of the four reactions.
Objectives 1. Given a sample titration curve, students will correctly identify a reaction between weak and strong acids and bases 2. Given a sample titration curve, students will correctly choose a suitable indicator for the equivalence point. 3. Given a specific acid and base of known concentration, students will correctly determine the pH at the equivalence point.
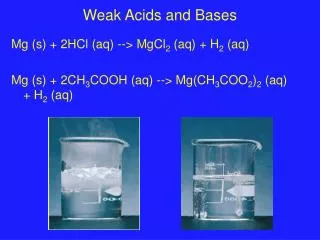
Procedure • Obtain safety goggles! • Place 8 mL of acid solution into a 250-mL beaker. Add approximately 100-mL water. Add 3 drops of phenolphthalein indicator solution. • Fill buret with 50-mL base. • Connect the pH amplifier to the Verneir data collector and to computer • In the Logger Pro Program, open Probes and Sensor, pH Sensor. Select pH versus Time.
Procedure • Under Experiment, select Sampling. Set Experiment Length to 240 seconds and sampling speed to 3 samples per second. • Once you are ready to begin collecting data, press “collect data” and open the stopcock to provide a constant slow drip. At the same time, start the stop watch. • Swirl the solution with the pH electrode. Be sure to note the time (in seconds) when the solution turns from clear to pink.
Results Strong Acid / Weak Base Strong Acid / Strong Base
Results Weak Acid / Strong Base Weak Acid / Weak Base
Student Assessment Students will complete the following: Pre-Lab Assignment Purpose Procedure Data: labeled graphs, time of phenolphthalein color change Conclusion Questions
Critique of the Lesson • Great Lab to visualize the change in pH as base is added! • Although we did the lab using the TI calculator and computer, we found the computer to: • be much easier to set-up • provide a more accessible visual to all students • be easier to manipulate data after the completion of the lab • give nice print out that students can use directly in their reports
Acknowledgements My technology savior, Mr. David Lyle, who spent countless hours with me connecting wires and making this lab possible Thanks to everyone who made this laboratory experience successful: My AP students, Michelle, Emily, Sara and Ebony, for always working so hard, My friend and colleague, Mrs. Molly Thomas, for emotional support!! All the teachers and staff at Pittsylvania County Schools, for inviting us to this workshop. It was wonderful!