Orthographic Projection
Orthographic Projection. Review . Isometric Drawings to appear three dimensional, a 30 degree angle is applied to its sides Dimensions still stay the same. Review contingued. Oblique Drawings (for a cube) Draw the front (is parallel to you) or side view of the object.

Orthographic Projection
E N D
Presentation Transcript
Review • Isometric Drawings • to appear three dimensional, a 30 degree angle is applied to its sides • Dimensions still stay the same
Review contingued • Oblique Drawings (for a cube) • Draw the front (is parallel to you) or side view of the object. • All measurements drawn backwards are half the original measurement. • 45 degrees is the angle for all lines drawn backwards
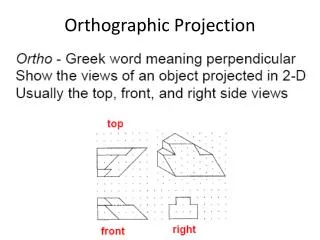
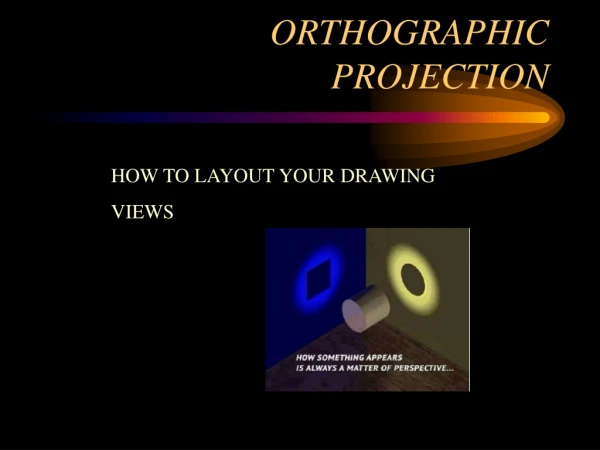
Orthographic Projections • Ortho – Greek word meaning perpendicular • Show the views of an object projected in 2-D • Usual views are the top, front and right side of the object
Imagine the following • If object were surrounded by a glass cube • We could see on each of the cube’s faces a projection of the object within view
Orthographic projections • Unfold the cube so all the views lye in one plane • The three views are now on a single sheet
The three views • Front view • Height and width • Top view • Width and depth • Right view • Depth and height
Do your orthographic drawings with a Title Block Border • Instructions: • All drawings must be on a clean blank, not 3-hole punched sheet of 215mm x 279mm paper (8-1/2” x 11”). The template must have a border and a title block. When you draw a part you must also include the title, scale, date and your full name in block letters within the title block. Refer to included diagram. • To Create The Border: • 1. Draw a rectangle 10mm inside all four sides of the sheet.
Instructions continued • To Create The Title Block: • 1. Draw a horizontal line between the left and right borders 7mm above the bottom border. • 2. Draw a horizontal line between the left and right borders 3mm above the first line. • 3. Draw a horizontal line between the left and right borders 5mm above the second line. • 4. Draw a vertical line between the bottom border and the third line 75mm from the left border. • 5. Draw a vertical line between the bottom border and the third line 125mm from the left border • 6. Draw a vertical line between the bottom border and the third line 100mm from the right border. • 7. Write the title, scale, date and your full name 5mm from the left vertical lines within the title block.
Draw an orthographic drawing for the following using the following dimension 1.5 cm 1.5 cm 1.5 cm 4.5 cm 6 cm 4.5 cm