Orthographic Projection
Graphics Lesson 3. Orthographic Projection. Properties. 2D views All the views line up with each other Usually 3 views plan front side Rule 1 – The plan is always above the front Rule 2 – The right side view is drawn on the right, the left view is drawn on the left

Orthographic Projection
E N D
Presentation Transcript
Graphics Lesson 3 Orthographic Projection
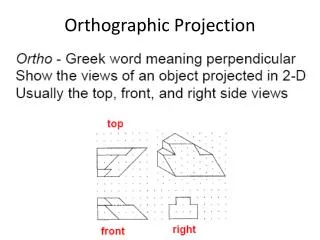
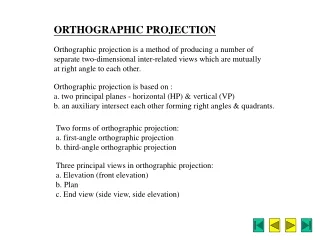
Properties • 2D views • All the views line up with each other • Usually 3 views • plan • front • side • Rule 1 – The plan is always above the front • Rule 2 – The right side view is drawn on the right, the left view is drawn on the left • Dimensions (sizes) are shown, spread over the three views
Analyse the Isometric P F S
Layout the views - feint 100 50 75 60 60 40 60 50
Construct views - feint 20 30 30 10
Add dimensions 20 60 30 60 100 10
Now your go!! 60 x 60 x 60 Cube Basic Shape 10 10 20mm Sq. hole 40 30mm Sq. 10