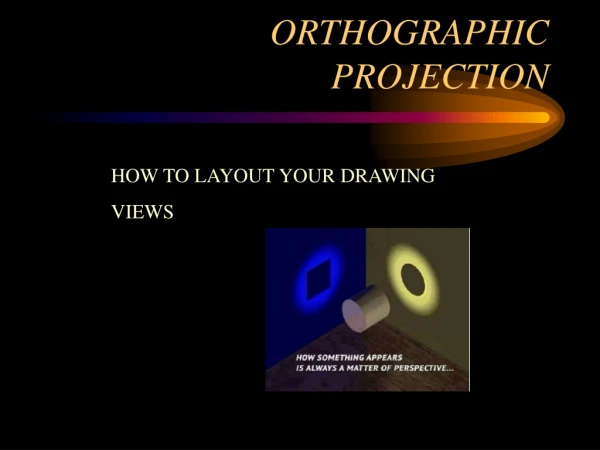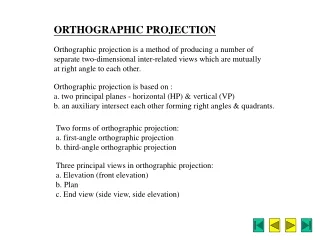
ORTHOGRAPHIC PROJECTION
ORTHOGRAPHIC PROJECTION. TECHNOLOGY. Prepared by G. C. Accom SUITABLE for GRADE 9 Learners. USE A SHEET OF LINED PAPER AND FOLLOW THE INSTRUCTIONS. PLEASE NOTE: We are using lined paper to make the drawings easier for you. 2 nd Quadrant. 1 st Quadrant.

ORTHOGRAPHIC PROJECTION
E N D
Presentation Transcript
ORTHOGRAPHIC PROJECTION TECHNOLOGY Prepared by G. C. Accom SUITABLE for GRADE 9 Learners
USE A SHEET OF LINED PAPER AND FOLLOW THE INSTRUCTIONS PLEASE NOTE: We are using lined paper to make the drawings easier for you. 2nd Quadrant 1st Quadrant • DRAW A HORIZONTAL LINE IN THE MIDDLE OF THE PAGE. 2. USE YOUR 45⁰ SET SQUARE TO DRAW A VERTICAL LINE IN THE CENTRE. 3rd Quadrant 4th Quadrant 3. THE FOUR BLOCKS ON YOUR PAGE ARE CALLED QUADRANTS.
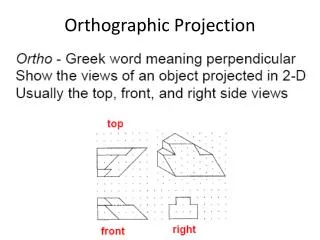
WE WILL BE DRAWING AN ORTHOGRAPHIC PROJECTION OF A CUBE THISMEANS WE WILL BE LOOKING AT THE SAME OBJECT FROM: THE FRONT = FRONT VIEW Imagine you are the object…YOUR front part, your face etc. will be the front view. Same applies to the object. THE SIDE =SIDE VIEW We are talking of the left side view. Imagine you are the object…YOUR left side, your left arm etc. will be the left view. Same applies to the object. THE TOP =TOP VIEW This is what you see when you look at the object from above --- looking down at the object.
REMEMBER THIS IS YOUR FRONT VIEW. FRONT VIEW YOU ARE NOW GOING TO PROJECT THE SIDE VIEW AND THE TOP VIEW FROM YOUR FRONT VIEW. SIDE VIEW TOP VIEW USE YOUR 45⁰ SET SQUARE TO DRAW THIS LINE Views are always aligned with each other. (Features project from one view to the next)