Download
1 / 12
120 likes | 223 Vues
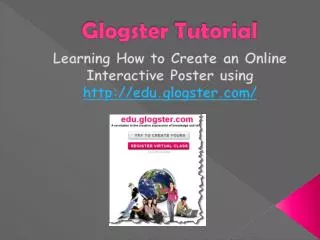
Learn to create dynamic online posters using Glogster! Add images, videos, sound, and hyperlinks to make your Glogs unique. Follow step-by-step instructions for customization and publishing.

E N D
A glog is like a poster, only better. Glogs allow you to create an online poster using photographs, images, graphics, video files and sound files. Glogs allow you to add hyperlinks to other websites.
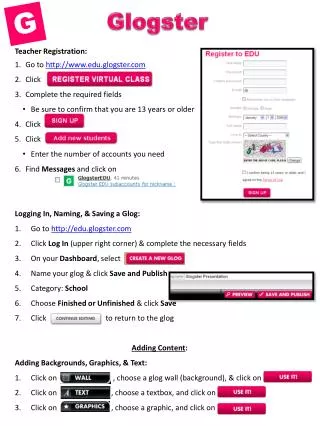
Go to edu.glogster.com Click on LOGIN in the upper right‐hand side of the screen Click the “CREATE your first GLOG” You can import a photo and create youe own profile
A “blank” glog screen will open or you can select a template
You can delete any element already on the screen that you do not want by selecting it and clicking the red trashcan that appears. Naming your glog: At the top of the glog screen, there will be a rectangular box labeled “Glog name” next to it. When you first open your glog, it is only identified with a glog number. Click in the box and give your glog a unique name.
Click the “Save and Publish” button. It will take you to a screen with some options. You may also mark you blog as “Public” or “Private.” (I usually mark mine as “Private” until it is completed.) Click “Save and Publish.” You blog will be saved. You will be taken back to your main blog screen with the option to “View” or “Continue Editing.” Each time you finish working on your glog, be sure to click “Save and Publish.”
Backgrounds: To add a background, select “Wall” from the tool box. (The toolbox may be repositioned on the page as needed.)
Images: Use the “Image” button from the toolbox to upload photos, pictures, sound files or video files. Click the “Upload” button and browse to the files on your computer. (It’s just like adding an email attachment.) Select the image you want and click “OPEN.” Your photos will be added to your online glogster library. You may hold down the SHIFT key to select multiple images at once. To add images to the glog, select your image, and click “USE IT!” You may use it “as is” or you may add a frame by clicking the “ADD A FRAME” button. When you add your image, it always moves to the bottom of the screen. Locate it and drag it to the desired position. It is easy to move it to any location on the screen.
Text: To add text, select “TEXT” from the toolbar. You may choose a textbox (default), a title box, bubbles or stickers for your text. A wide variety of text boxes are available from each category. Select the textbox you want click “USE IT.” The textbox will appear on your screen. Click “Edit” above the textbox to type text.
Once you have typed your text, click the “Ab1” button on the menu to change the font size and style, or to bold, center, or add italics. The color chart button will allow you to change the font color. Color effects may be changed by the fx button. To create text with no box or frame around it, choose “Basic Text,” “Basic bubble” or “Basic Title.”