Download

1 / 22
220 likes | 255 Vues
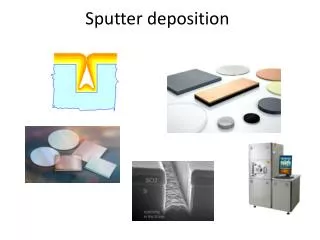
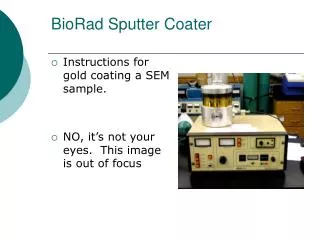
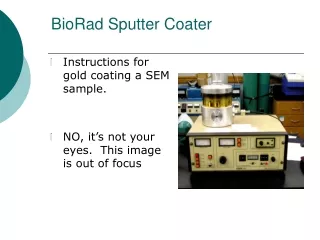
Learn how to operate the Cressington 208 HR Sputter Coater efficiently and effectively with step-by-step instructions. Includes startup, sample loading, sputter cycle, shutdown procedures, and instructions for using the Film Thickness Monitor (FTM).

E N D
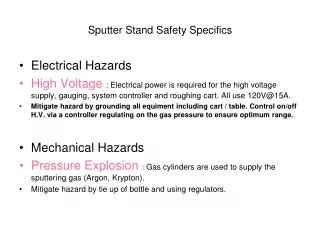
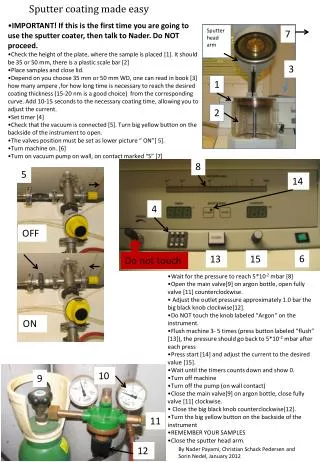
Argon On • Check to see if the Argon tank (bottle) main valve is on. • Do NOT turn the pressure adjust needle valve on the regulator.
Argon On Number 2 • Normally the specimen chamber is left under vacuum. • Open the inline valve on the argon line. This will vent the chamber. Give it a few seconds.
Open Sample Chamber • Open chamber by lifting the Target Assembly. Do not place your fingers on the target.
Remove Glass Jar • To load samples, remove the glass cylinder and place it on clean aluminum foil.
Place samples in chamber • The stage has a various holders for the different types of samples stubs • Load samples on stage.
Close Chamber • Replace the glass jar making sure that the o-ring is clean. • Close Chamber top (target assembly) making sure that the top is seated properly on the glass jar. • DO NOT DROP THE TARGET ASSEMBLY, lift slightly and pull gently outward to fit top on jar.
Power Up • Flip the POWER toggle switch. • The unit will start up in the AUTO mode.
Move Shutter • Move the shutter out of the way. • The shutter is used for deposition onto thermally sensitive samples.
Presets for AUTO Mode - 1 • Preset the deposition time by pressing the PAUSE/TEST button and adjusting the SET buttons in the TIMER/current area.
Presets for AUTO Mode - 2 • Preset the plasma current by pressing the SETma button and adjusting the SET buttons in the TIMER/current area.
Starting the Sputter Cycle • Press the CYCLE/STOP button in the AUTO area • This will start the sputter cycle.
What does the Cycle Do? • The Cycle mode will then: • Pump the chamber to 0.05 mbar; • Open argon flush then close; • Pump to 0.15 mbar; • Open argon flush then close; • Open leak valve • Pump to 0.15 mbar • Switch on HV; • Sputter at preselected current for preselected time/thickness
Remove samples • Lift the Target assembly. • CAREFUL the glass jar may stick to the top O-ring. HOLD THE GLASS while lifting the target assembly. • Remove samples
Shutdown • Replace glass jar; • Close lid (target assembly) • Close inline valve on argon line • Turn on Power and let chamber pump for a minute. • Turn off Power • Close Valve on top of Argon Bottle.
Film Thickness Monitor (FTM) • Coatings can also be deposited using the FTM. • Density and Tooling factors currently in memory can be displayed by pressing the relevant button.
FTM - 2 • To adjust a value, hold the button for 2 seconds until the period begins to flash. Scroll up or down with the arrow buttons. • Zero resets the display to zero after a measurement
FTM - 3 • To display the current FTM termination thickness, press TERMINATOR and hold for two seconds. To adjust use the arrow buttons.
Other • Cressington has a number of options. • Multi targets • Different size jars. • Check with CAF personnel before using these.