Download
1 / 13
130 likes | 339 Vues
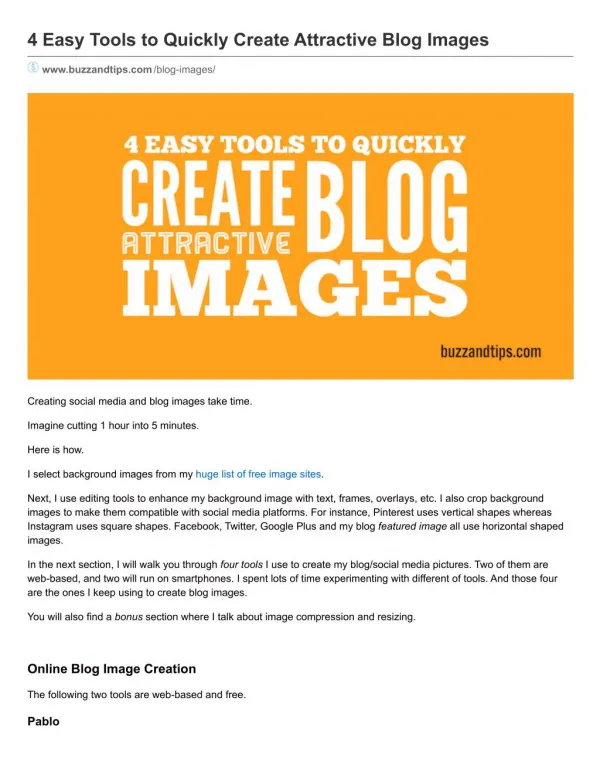
Creating social media and blog images take time. Imagine cutting 1 hour into 5 minutes. Use our step-by-step method and create impressive images.

E N D
4 Easy Tools to Quickly Create Attractive Blog Images4 Easy Tools to Quickly Create Attractive Blog Images www.buzzandtips.com/blogimages/ Creating social media and blog images take time. Imagine cutting 1 hour into 5 minutes. Here is how. I select background images from my huge list of free image sites. Next, I use editing tools to enhance my background image with text, frames, overlays, etc. I also crop background images to make them compatible with social media platforms. For instance, Pinterest uses vertical shapes whereas Instagram uses square shapes. Facebook, Twitter, Google Plus and my blog featured image all use horizontal shaped images. In the next section, I will walk you through four tools I use to create my blog/social media pictures. Two of them are webbased, and two will run on smartphones. I spent lots of time experimenting with different of tools. And those four are the ones I keep using to create blog images. You will also find a bonus section where I talk about image compression and resizing. Online Blog Image Creation The following two tools are webbased and free. Pablo The folks at Buffer created Pablo. You can use Pablo to write text over an existing website image or import one from
The folks at Buffer created Pablo. You can use Pablo to write text over an existing website image or import one fromThe folks at Buffer created Pablo. You can use Pablo to write text over an existing website image or import one from your computing device. You can access Pablo in two ways: 1. Via its Chrome extension 2. Via Pablo’s direct link With the Pablo Chrome extension, every time you hover over a website image, you will notice a ‘Pablo’ button in the lower right corner. Clicking that button will launch Pablo and import this image. Pablo’s direct link will start Pablo and enable you to select free pictures or something available from your computing device. Here is Pablo in action:
Let’s describe all the red sequence numbers above: 1. You can search over 600,000 free images 2. The check mark represents the selected image 3. You can upload a picture from your computer 4. Three image sizes are available: vertical rectangle (Pinterest), square (Instagram) and horizontal (blog, Twitter, Facebook, etc.) 5. Filter effects. You can set it to none. 6. You can use three distinct text elements on your image: header, body, and caption. Once you click on a text element, you can modify its color, font, alignment, etc. 7. If you have a logo, you can customize your image with it 8. Individual templates are available for outreach, announcements, promotion, etc. Key takeaways: Pablo is totally free The Chrome extension speeds up image import You can add your logo to images Pablo can generate quotes Easy to customize templates PicMonkey PicMonkey is one of my favorite image editing tools. The free version offers plenty of accessories to help you enhancing your images. You can access PicMonkey in two ways: 1. Via its Chrome extension 2. Via PicMonkey’s direct link PicMonkey’s Chrome extension lets you instantly grab images from any Web page and open them up in PicMonkey for editing. If you access PicMonkey via its direct link, you will notice four options: Edit: add text, effects, or overlays. Touch up: enhance your photo Design: create a blank canvas with preset sizes (Facebook cover, square, etc.) I prefer using the “Custom size” to create blog post featured images or fake eBook covers. Collage: you can quickly create mosaic style images or “collages.”
Here is PicMonkey in action. Please refer to the next figure.Here is PicMonkey in action. Please refer to the next figure. I browsed an image on Pixabay and clicked the PicMonkey extension icon. This action opened the PicMonkey web app with the picture. I then added some text and changed its color to blue. The left sidebar offers several options: Basic edits Effects Touch up Text Overlays Frames Textures Themes Please note: Most of these options are free (basic plan). To access the locked features, you must purchase a “Royale” plan. A 7day free trial is also available.
Here is how you can add a “Texture”: Key takeaway: PicMonkey enhances your best free graphics and makes them eye catching. Possibilities are almost endless. Smartphone Blog Image Creation Do you prefer using your smartphone instead of online image creation tools? Let me share with you two smartphone tools I use to create images for social media and blogging. Typorama My favorite smartphone tool for image creation is Typorama. It runs on Apple iOS only. This app is very easy to use. Here is a photo collage of the three steps I used to complete my image. Step #4 is the sharing part.
1. Choose a background from the ones presented, or by typing your topic in the search box. You can also use images from your camera roll. 2. Select a crop size. You can choose form the several predefined formats. For example, Instagram, Facebook cover, Twitter cover, etc. 3. Type some text and pick a style. You can also select various text tools, overlays, adjustments, etc. If you like this product, I suggest you unlock it so you can remove its watermark. You can then use your watermark in text form or logo. In this example, my watermark is: buzzandtips.com 4. You are now ready to share this image on social media. To upload it to your blog, you can email it to yourself. In my case, I saved it to Evernote. Tip For the collage above, I took four screenshots on my iPhone and made a collage with PicMonkey. I then captured the collage with SnagIt and assigned sequence numbers (white on yellow). Here is the final result:
Key takeaways: Typorama is free to use and can create excellent images in few minutes. You must unlock it to remove the Typorama watermark. Investment: $2.99. To unlock everything and access all fonts, features. Investment: $3.99 Over I’ve been using Over for a long time. Initially, I owned a couple of iPhones where I used Over. Then, I switched to Android and used the Over app with my three droid phones. Today I am back to iPhone and still use the Over app. The Over app is very easy to use and can produce an image in minutes. Here is a photo collage of the five steps I used to complete my customized image:
1. From Over app, click new 2. Choose a background. Use the search box and type your term. I used “water” in this example. 3. At the bottom select the controls you need. Example: filter, adjust, crop, blur, tint, etc. 4. I selected “crop”, then Instagram preset to make a square photo. 5. Finally, I chose the yellow “Text” icon (bottom) and typed my title. Here is the final result:
Key takeaways: The Over app is free and has no watermarks. Inapp purchases are available such as font packages and addons. Watch for their special bundles. I purchased the Pro Toolkit and very satisfied with it. Investment: $3.99 Bonus Tools This section is about compressing and resizing your images. That extra step is necessary to optimize your blog images and to increase your website performance. Image Compression Your website page load time will improve if you compress your blog images before uploading them. Here are two free tools web based apps that achieve this: TinyPNG TinyPNG works for both JPEG and PNG images. You can drop up to 20 image files on their webpage, and they will be compressed.
Compress JPEG Compress JPEG will let you drag and drop up to 20 JPEG image files on their web page. The data will be compressed and ready to be used on your blog. To compress PNG type files, click on the “PNG” tab at the righthand side. You can also compress PDF files. Image Resizing You can resize your blog images if they are too large.
For instance, the ideal size for your blog featured image may be 750p x 350p (pixels).For instance, the ideal size for your blog featured image may be 750p x 350p (pixels). Tip Use the Page Ruler Chrome extension to determine dimensions. This tool draws a ruler to get pixel dimensions and positioning, and measure elements on any web page Use the following tools to set an image to the desired size. PicResize PicResize is a web based app. It will let you upload a file from your computer or a URL. Next, you must choose the required file size. You can also use special effects such as round corners, badge, etc. You can save the resized file in four different formats: png, jpeg, gif, bmp.
Preview If you are like me and use an Apple Macbook, then Preview is a builtin tool that can help you resizing blog images. Open your image using Preview. Or, from Finder, rightclick your image and “Open with” Preview. Select Tools > Adjust Size Type the correct width and height values and click OK.
Wrap Up With the right tools, you can create great images for your social media and your blog posts. In this post, I shared my top image creation tools. I hope they will help you creating attractive graphics fast. What kind of tools do you use to create your social media images? Did you find this article helpful? Please share your comments in the section below. Related About the Author Steve Williams I am a fulltime digital marker. Prior to that, I spent 20+ years running my own business as a technology consultant. I created this website to help you building your own online presence and monetize your efforts.