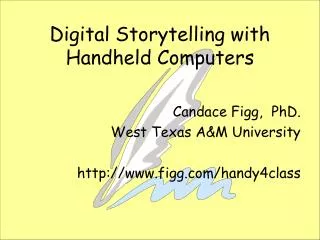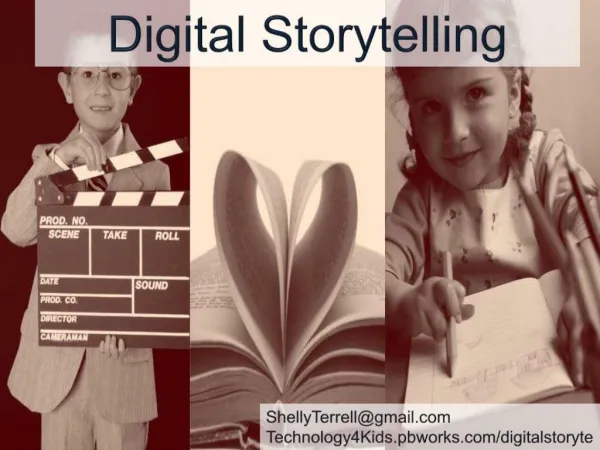
Digital Storytelling: Frame-by-Frame
180 likes | 432 Vues
Digital Storytelling: Frame-by-Frame. 1. Begin Simple then Grow! This PowerPoint Walks You Through:. Photo Story – build movies from stills and create narrations and music Moviemaker – build movies from other movies, add new narrations to instructional videos, edit clips

Digital Storytelling: Frame-by-Frame
E N D
Presentation Transcript
Begin Simple then Grow! This PowerPoint Walks You Through: • Photo Story – build movies from stills and create narrations and music • Moviemaker – build movies from other movies, add new narrations to instructional videos, edit clips • Adobe Premiere Elements – multiple track video creation, chromakey kids into videos
Photo Story One click is all you ever need. Download Photo Story 3 free athttp://www.microsoft.com/windowsxp/using/digitalphotography/photostory/default.mspx Great online tutorial at http://jakesonline.org/
Photo Story: Five Simple Steps to Making a Movie • Import pictures • Click import • Navigate to where your pictures are • Highlight them • Click OK • The pictures are pulled onto the timeline. Click Next You can drag the pictures and change the order *Pictures from Discovery Education streaming
Add a title • Control font • Control position • You can put a different caption (“title”) on each picture. Or put none! Click Next Titles will stop camera movement on the slide
Add narration • Click on the picture you want to narrate • Click the red button to start • Click square to stop • Do this for each picture you want to narrate Click Next Before you record, type notes here to help your narration.
Add music • Select music from the music library on your computer • Create your own music • Preview and adjust music volume. It shouldn’t overpower the narration Navigate to your music library Opens a wonderful, mood-drive music creation tool. Play around with it. Click Next to continue
5. Save the project as a movie • Most times, this option is what you want • Options include sending movie in email, pocket PC, or mobile players. • Name your project • Browse to where you want to store it. Here is where the movie is put on your computer Click Next and your movie will be created This creates a wmv movie file. If you want to move these movies into an iPod via iTunes, convert them to Quicktime.
Your project has been created. You are ready for another Photo Story movie. The Photo Story wmv movie files are peculiar. If you want to move them onto online libraries, see them on a projector, and other typical uses, you may have to import it into Movie Maker and save it again. You can also convert it with ImTOO. Make sure you have the rights to any material you convert. Imtoo.com
Movie Maker Add new student-created soundtrack to a video. Movie Maker is the free movie making program from Microsoft. Download Movie Maker at http://www.microsoft.com/windowsxp/downloads/updates/moviemaker2.mspx
Movie Maker: Import Import a video, still image or sound file • Under File choose Import into Collections • Navigate to the video, still image, or sound file (including music) • Highlight files and click Import This video is an editable clip from Discovery Education streaming
Movie Maker: Build movie • Drag media into timeline • Change the order by clicking and dragging • View the video in the window Timeline Click on the icon that says Show Timeline to change your view from the storyboard to the timeline. This video is an editable clip from Discovery Education streaming
Movie Maker: Adding a new narrations • Click on the clip in the timeline • Under Clip > Audio > Mute Mute the original sound track and replace it with student narration. This video is an editable clip from Discovery Education streaming
Movie Maker: Adding a new narrations • Click on the microphone • The record controls will appear • Use the controls to make a new narration using the microphone in your computer or a USB or multimedia microphone • The recording will be saved. It will then appear in the timeline on the Audio/Music track
Movie Maker: Save the Movie • Save the file • The default settings are fine for most users
Movie Maker: More features • There are other controls for editing • The video effects include black and white, color changes, and some very interesting other effects • Transitions include wipes, dissolves, and many others
Watch your students create content with Digital Media A scaffolding approach to getting media making and content creation into every teacher’s classroom. Version for Windows – for Macs, consider iMovie, iPhoto, and Final Cut Contact Information: