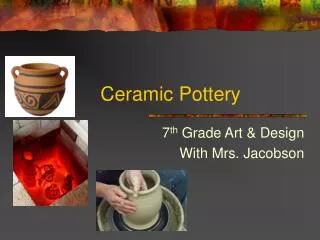
Clay Pottery
Clay Pottery. ART 1 TCCHS 2014. Pinch Pots. With pinching gestures, you can mold clay into objects such as animals or even make a bowl. While this form of pottery seems really basic, you can get a feel for the clay you are working with and you will get to know the limits of your clay.

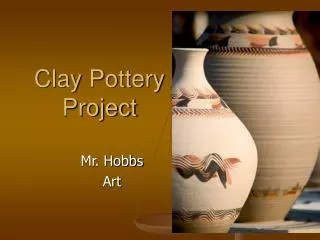
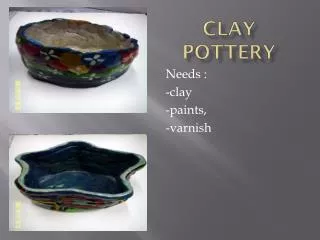
Clay Pottery
E N D
Presentation Transcript
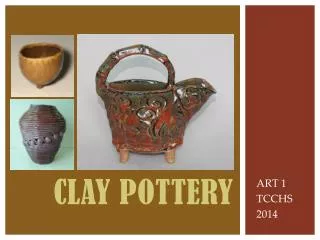
Clay Pottery ART 1 TCCHS 2014
Pinch Pots With pinching gestures, you can mold clay into objects such as animals or even make a bowl. While this form of pottery seems really basic, you can get a feel for the clay you are working with and you will get to know the limits of your clay. • Begin with a ball of clay. • Push your thumb into the center. • Then pinch up the walls.
Pinch Pots • Turn the piece as you pinch. • This will help you to keep an even thickness in the walls of the piece.
Pinch POts • Gently pat the bottom on a flat surface to create a flat spot on the bottom of the piece.
Coil Pottery • Squeezing the clay into a coil or rolling between your hands are two ways to make coils. • This technique can be difficult to make a smooth round coil because of the uneven pressure from your hands and fingers.
Coil Pottery • When hand rolling coils, use a smooth surface and spreading your hands to apply even pressure. • Gently roll the clay back and forth.
Coil Pottery • Roll the coils so that they are a little thicker than a pencil. • Then stack the coils one on top of anotheror create shapes and spirals. • Stack the shapes and spirals and join together with coil strips.
Coil Pottery • For strength, force the clay together on the inside of the piece. • Use you finger and scrape the top coil onto the coil under it.
Coil Pottery • When smoothing the inside of the piece hold you other hand on the outside so you do not damage what you have completed already.
Coil Pottery • Slow dry with plastic draped over bowl for 24 hours. • Remove drape of plastic and continue drying until bone dry. • Paint (as allowed) and seal with clear acrylic sealer.
Slab Pottery • I love the pitchers in this lesson plan because there are so many possibilities in design for shape, style, texture, decoration and technique. This plan is designed all skill levels. • You will create these pitchers from scratch. Individually design the pitcher shape on paper, cut out templates from the design and then start hand-building in clay. So many textures to choose from for this project including: texture rollers, texture molds, handmade stamps, found object textures, etc. Students have many choices for handles and feet for pitchers. There are also many decorative designs to choose from. • Let your imagination be your guide.
Goals & Objectives • Students will create a functional or purely decorative pitcher using design skills, slabs, and textures. • Students will learn to create and decorate with clay. • This lesson integrates the history of many cultures and art. • This lesson is suitable for all learners.
Pre-work ONE CLASS PERIOD ONLY, TUESDAY! Pre-Work: • Design and sketch pitchers: 3 to 4 inches tall (including spout and feet) x 4 to 5 inches wide (including handle). • Cut templates from sketches on paper.
Step 1 • Roll slab, smooth and compress. • Slab should be about 3/8" thick and 10-12" x 15“.
Step 2 • Apply texture. Press texture into slab using a stamps, or other items you find in the classroom.
STEP 3 • There are four parts to a basic pitcher: two sides (squares), one base (oval), and one spout (rectangle).
Step 4 • Score sides at the ends to join, using a scratch tool, fork, etc. where the parts of the pitcher connect.
Step 5 • Paint on small amount of vinegar or water (used instead of slip for the glue) on scored places and attach.
Step 6 • Reinforce seams with coils of clay, press and smooth gently.
Step 7 • Score, paint on vinegar/water, and attach base to sides of pitcher. Press base to sides.
Step 8 • Seal both inside and out to secure attached areas for a functional pitcher.
Step 9 • Size up the spout and decide exactly where to place. • Mark outside where spout goes.
Step 10 • Cut along mark.
Step 11 • Take your time with this step!!! • Score, paint on vinegar/water, and attach spout. • Smooth interior of spout carefully to connect and enhance pouring capabilities.
Step 12 • As desired for design, trim corners around the top of spout.
Step 13 • Smooth end of spout to improve look and functionality.
Step 14 • Attach feet with larger half of foot wrapped gently around and up the outside of the base. • Point bottom of feet up and smooth connections
Step 15 • Create and attach handle. • If desired, more decorative sprigs.
Step 16 • Smooth the edges and blend the spout.
Finishing • Slow dry with plastic draped over pitcher for 24 hours. • Remove drape of plastic and continue drying until bone dry. • Paint (as allowed) and seal with clear acrylic sealer.
Glossary • Bone-dry: Final stage of greenware, completely dry and ready to be fired. Clay is very fragile, non-plastic and porous within this state. • Chamois: A soft, pliable cotton cloth finished to simulate the leather from any of various skins dressed with oil. • Leather-hard Clay: Stage between wet and dry clay. The clay is stiff enough to support its own weight, but pliable enough to be bent and worked with. • Score: to scratch or “rough up” surfaces of clay that are to be joined together. • Sprigging: Decorating technique in which small clay coils, balls, or molded pieces are affixed to the damp or leather-hard surface. • Template: A positive pattern used to trace a shape or design.