Creative Pottery Project: Clay Sculpting for Grade 9 Art
90 likes | 211 Vues
In this Grade 9 art project, you'll craft a unique piece of pottery using a baseball-sized piece of self-hardening clay. You're free to choose your design, whether it be a soap dish, bowl, mug, or more. Follow these essential steps: brainstorm ideas, sketch your design, create your pottery while keeping the clay moist, and finally paint and glaze your masterpiece once it's dry. Take this opportunity to explore your artistic abilities and create something special to showcase!

Creative Pottery Project: Clay Sculpting for Grade 9 Art
E N D
Presentation Transcript
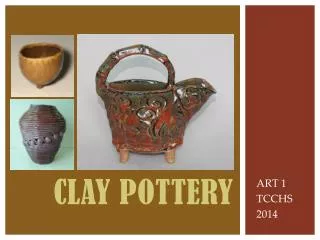
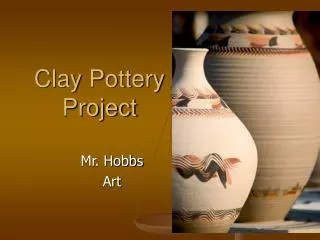
Clay Pottery Project Mr. Hobbs Art
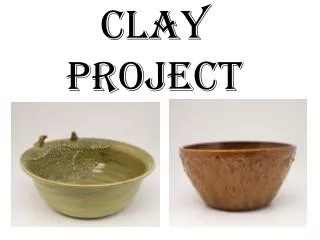
Grade 9 Clay Project • For this project, you will be given a baseball size piece of self-hardening clay which will be used to create a piece of pottery. • It is up to you what type of pottery you want to do, but you must follow the steps to end up with a good final piece. • Here are some ideas to get you started...
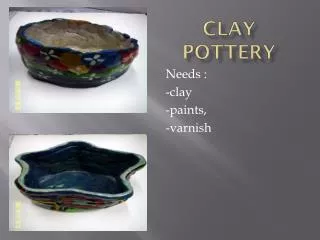
Examples of Pottery you can do… • Soap Dish • Bowl • Gravy Boat • Jewelry Box • Mug • Vase • Desk Organizer
Step 1: Finding an Idea - Research You will be responsible to think of a pottery idea you are interested in creating. This idea should be sketched out in your sketchbook. If necessary, you could research your design online.
Step 2: Planning / Sketching • During this stage, you are to draw a plan in your sketchbook of the idea you want to sculpt. This sketch should show detail, form, shading, etc. • Take some time during this stage as it will form the basis for your whole project
Step 3: Creation • You are now ready to start. • Material you need: clay, water, sponge, spray bottle (optional), plastic bag, cardboard or something to rest your piece on and modelling tools. • First, take some time to experiment with the clay before starting.
Tips for Success! • Don’t forget to keep your clay moist! If not, it will dry out and crack and you’ll end up with a big clay paperweight instead. • Do not spend too much time on one side and constantly move your piece so you work a little bit on each side. • Use your modelling tools to smooth out your clay, cut it, add detail, designs, texture, etc. Your fingers are good to begin with, but are often too big for smaller parts. • When it’s time to clean up, put all your clay in a plastic bag and tie up tightly so it doesn’t dry out.
Step 4: Painting and Glazing • Once your pottery is done, leave to air dry. • When the sculpture is bone dry, you may paint it, if time permits. • A glaze should be applied to make your work waterproof.